One of our most popular questions is, “How do I make my mic sound better?” It seems like a simple enough question, but there are many things you can do to improve the quality of your recordings. The microphone is one of the most critical pieces to a successful recording. If your mic sounds terrible, you have no chance of sounding great! But how can you ensure that your mic doesn’t sound bad? We’re going to share 10 tips that will help you fix the problem!
But first, let’s try to understand why a microphone sounds terrible so we can figure out how to make it sound better. What are the reasons behind this problem?
Two major factors will affect the quality of your recordings: room acoustics and noise pollution. If you don’t have a quiet place to record or too much background noise in your area, these problems will carry over into any recording – including voice! Here’s our list of ways to help solve both issues…
1. Position yourself at a proper distance
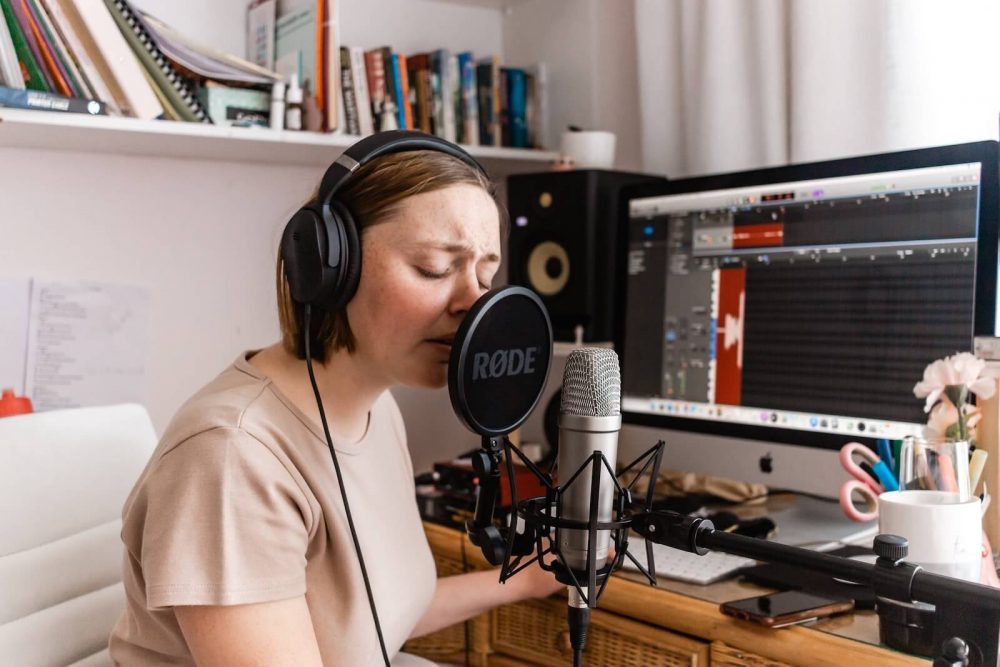
Positioning yourself correctly from the microphone is a great way to improve your sound. If you’re too far away, it will be hard for us to hear you, and if you’re up close, we’ll pick up any unwanted noises. It’s best to record around 20 cm/eight inches away from the front of your mic (or about one hand length).
If that doesn’t work, try moving back another 30cm/12in and see if that works better. You can also adjust how high or low your microphone sits – most mics don’t need capsules more than eight centimeters off a desk surface.
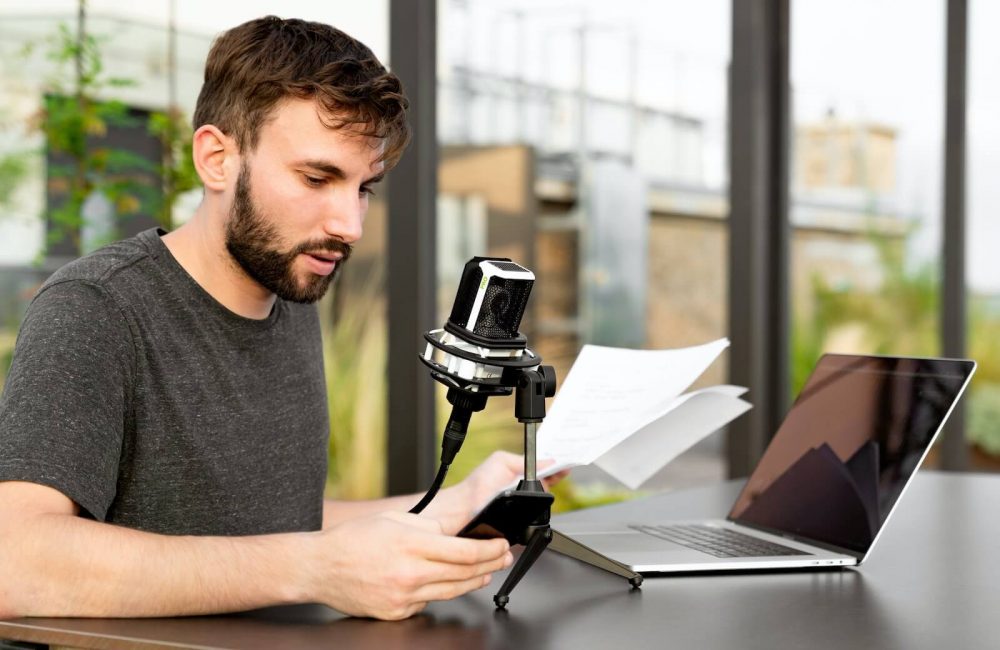

As long as you position yourself at an appropriate distance with good posture and ensure you’re not too close or too far away, you won’t have to worry much about lousy room acoustics!
Of course, many other factors will affect your recordings, like reverb (a lack of it) and background noise. We’ll talk more about those in tips.
2. Record in a quiet room with no background noises
Recording in a quiet place is the first step to improving your sound. If there are too many back noises (from cars, construction, or any other source), our microphone will pick that up, and it’ll be hard for us to focus on what you’re saying!
The best way to test this is by recording yourself talking while playing some music at an average volume. Then playback your audio afterward and see if we can hear the background noise – like traffic or an airplane passing overhead…
If you can still make out sounds of nature but not much else, congratulations! Your recording environment isn’t noisy! But if all of those crazy outside noises come through loud and clear, then you might find a quieter room with less background noise.
3. Record in a room with soft surfaces around
Record in a room with objects around you is also a great idea. These soft surfaces will absorb some sounds and make your recordings quieter while reducing echoes! This is especially important if it sounds like we can hear an echo when listening back on our end.
Although not all mics pick up ambient noise, some do – meaning they’ll pick up any reverb or echoes from surrounding walls and furniture.
There are many ways to fix this issue, including using a pop filter, moving away from hard surfaces, installing acoustic panels/furniture, etc… But hopefully, these small changes will be enough so we won’t have to worry about bad acoustics.
And talking about pop filters…
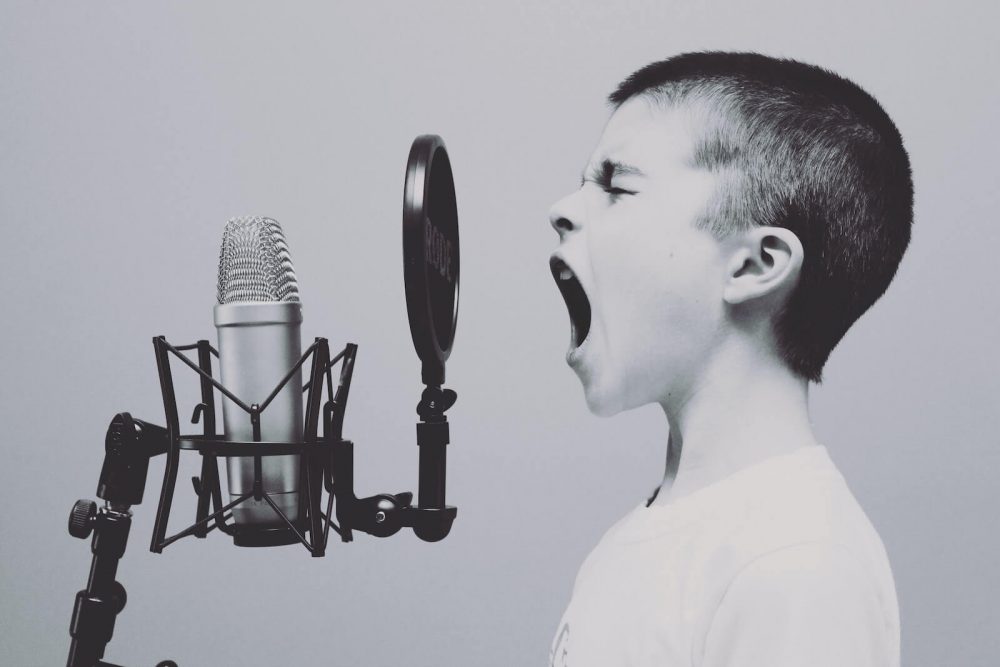
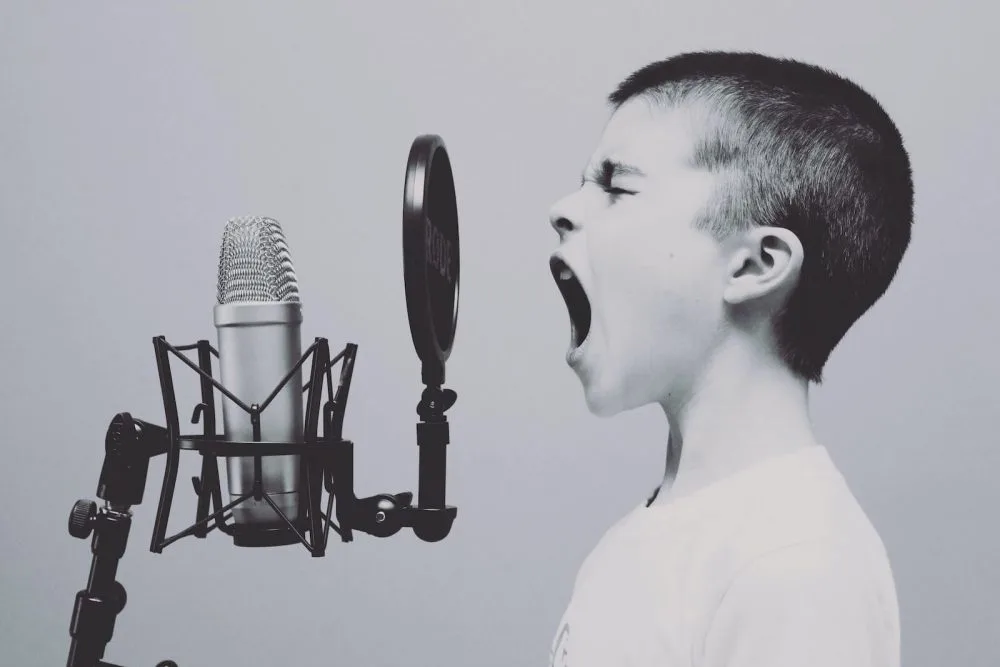
4. Use a pop filter
A pop filter is an attachment that you’ll need to use to prevent plosives (that’s when air blows into the microphone and makes it sound like “puh puh” or “tih tih”).
If these sounds aren’t filtered out, they can damage our recording application and annoy your listeners. You don’t want us to hear popping noises every few seconds! So be sure to invest in a high-quality one.
You might also consider using foam windscreens instead of filters – but either way is equally effective. The main difference between them is how much noise/reverb they cut down on and their durability over time. It’s ultimately up to your personal preference which routes you choose.
5. Set your microphone input levels to around 75%
This step is pretty self-explanatory. If you set your input levels too low, then we won’t be able to hear everything that you’re saying clearly…
On the other hand, if they’re turned up way too high, distortion kicks in, and we won’t be able to make out any words. So aim for around 75% and see how that works! This is a general rule for speakers, headphones, recording devices, etc. To avoid distortion, you don’t want to exceed 70-80% of the max input/output.
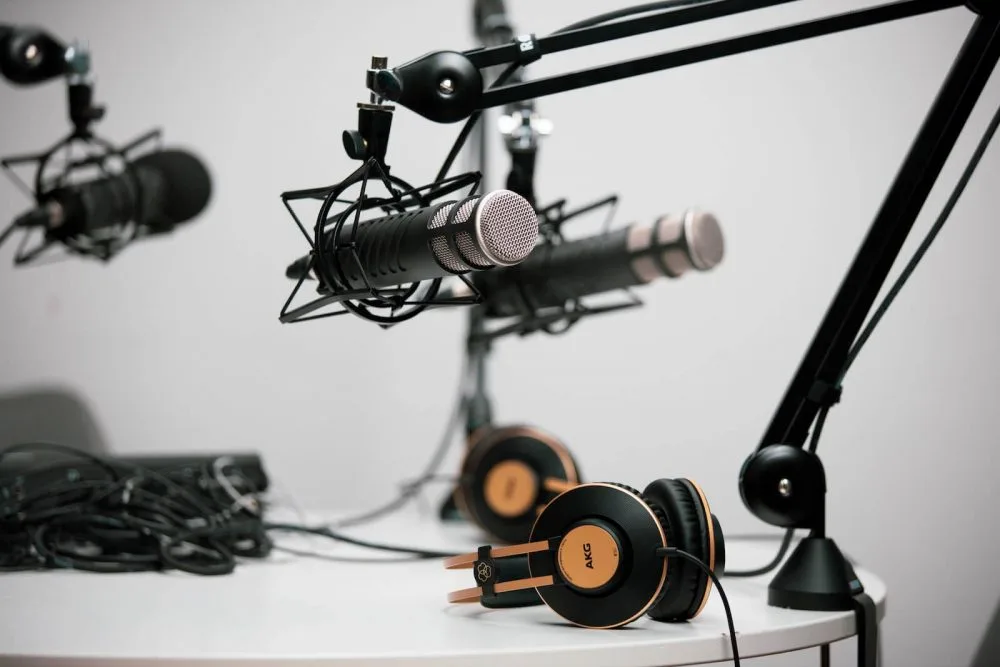
6. Invest in a high-quality microphone and recording apps
The microphones and recording apps that we use can make a huge difference.
For example, if you’re using the built-in microphone on your device or even an older model of headset/headphones, then chances are they won’t pick up low frequencies very well… And this is bad for anyone with a deep voice! It’ll sound like you have something stuffed in your mouth – not professional!
No matter how many tips you end up taking if your hardware can’t keep up with your work 🙂
So try to invest as much money as possible into these tools because it will help us hear what’s going on better from both ends. Plus, many different types of mics are out there, so be sure to research before purchasing one…
7. Keep the microphone off your desk or any moving objects
If your mic is touching anything, it can pick up even the tiniest sounds – like a cardigan brushing against its surface or you shuffling in your chair. This is a common problem for PC streamers or gamers, where the mic picks up all the keyboard and mouse sounds, which is annoying.
This also goes for any other objects that might be able to move around and make noise (like cables). So try to keep them away from everything/anything that could potentially cause disruptions during recording sessions…
It’s always better to hear only what comes directly into the microphone instead of outside noises! Plus, this step helps prevent unwanted editing later on down the line, too, so take note 🙂

You can use a microphone arm/clamp or place it somewhere away from your desk if it’s still at the desired distance. There are tons of these online, and they’re relatively cheap (around $15-25 USD). So you don’t have to worry about breaking the bank here 🙂
8. Make sure you’re using the right side of the microphone
This step is meant for podcasting or anyone with a dynamic mic not integrated into their laptop/PC/phone.
Many microphones, such as the very popular Blue Yeti, have a recording side meant to be used. If you’re unsure which one is on the right side, there should be an indicator on your mic letting you know what it is… or read the instructions!
If this isn’t available or hard to notice, note where your head usually goes when speaking into the microphone, and try recording from that angle! This will help tremendously with voice quality because otherwise, we’ll hear all sorts of weird stuff from our speakers, and it won’t record the things that matter (a.k.a. your voice).
10. Use a noise reduction software
Many recording apps have noise-reduction features, but using third-party software is always better.
For example, Audacity has a built-in feature that helps with sound cleanup and reduces background noise. But there are many other tools out there, such as DeNoise (paid), Noisecanceler (free), or Noise Ninja (also free).

Some microphones have this feature enabled by default when recording (such as the Airpods), but having access to it after recording the value or adjusting the noise reduction levels is always a great idea.
The bottom line – How to improve mic quality
You can continuously improve how your mic sounds by trying different tips and tricks! Plus, all of these recording apps and tricks are relatively cheap, so nothing is stopping any gamer or streamer from investing in them to improve their recording game 🙂
Remember that all these steps can be used for both streaming and podcasting, so if you ever need better-quality sound, try some new things! There’s no harm done by trying. Now that you know how to make the mic sound better remember to leave comments below if you have any questions or suggestions we could add.