Are you looking to improve the performance of your car audio system? One way to achieve this is by charging your car audio capacitor. However, charging a capacitor typically requires the use of a resistor, which can be inconvenient and time-consuming. Luckily, there are safe and practical methods for charging a car audio capacitor without a resistor.
In this section, we’ll provide you with a step-by-step guide on how to charge a car audio capacitor without a resistor. We’ll explain the significance of car audio capacitor charging and discuss different charging techniques commonly used for optimal performance. By the end of this section, you’ll have the knowledge and confidence to charge your car audio capacitor without any hassle.
Key Takeaways:
- You can charge a car audio capacitor without a resistor using safe and practical methods.
- Understanding the role of capacitors in car audio systems is essential before charging them.
- There are multiple methods for charging a car audio capacitor without a resistor, such as using a power supply unit, a pre-charged battery, or a T-piece connector.
- Safety measures and precautions should always be taken when dealing with electrical components.
- Properly sizing and selecting a capacitor is crucial for optimal performance.
Understanding Car Audio Capacitor Charging
If you’re serious about maximizing the performance of your car audio system, then understanding how to properly charge your car audio capacitor is critical. Before we delve into the specific charging techniques, let’s take a moment to explain the role of capacitors in car audio systems.
In simple terms, a capacitor functions as a buffer, smoothing out the flow of electrical current to your car’s amplifier. This helps to prevent overloading and distortion of your music, resulting in clearer and more powerful sound quality.
When it comes to charging your car audio capacitor, there are a few key techniques to keep in mind. One common method involves using a resistor to regulate the flow of current during the charging process. However, it’s also possible to charge your capacitor without a resistor, using alternative safe and effective charging techniques.
Understanding Car Audio Capacitor Charging
To help you get started, let’s take a look at some of the most common charging techniques for car audio capacitors:
| Charging Technique | Pros | Cons |
|---|---|---|
| Using a Power Supply Unit | Safe and efficient. Offers precise control over the charging process. | Can be costly and requires additional equipment. |
| Using a Pre-Charged Battery | Convenient and cost-effective. Can be done easily at home. | May not offer as precise control over the charging process as other techniques. |
| Utilizing a T-Piece Connector | Simple and straightforward. Requires minimal equipment and expertise. | May not be as efficient or precise as other techniques. |
Each of these techniques has its own specific benefits and drawbacks, so it’s important to select the one that’s best suited to your unique circumstances and needs.
In the next few sections, we’ll explore each of these methods in greater detail, providing step-by-step guidance on how to safely and effectively charge your car audio capacitor without a resistor.
Method 1 – Using a Power Supply Unit
https://www.youtube.com/watch?v=-ZIOtaQgUuY
If you’re looking for a safe and efficient way to charge your car audio capacitor without a resistor, using a power supply unit is a reliable option. Here’s a step-by-step guide to help you through the process:
- First, you’ll need to gather the necessary materials. You’ll need a power supply unit, a voltmeter, a voltage meter, and of course, your car audio capacitor.
- Next, ensure that the power supply unit is turned off and unplugged from the power source.
- Connect the positive terminal of the capacitor to the positive output of the power supply unit and the negative terminal of the capacitor to the negative output of the unit.
- Set the voltage on the power supply unit to match the voltage rating of your capacitor, usually around 12-16 volts for most car audio capacitors.
- Turn on the power supply unit and slowly increase the voltage to the desired level using the voltage meter.
- Monitor the voltage and adjust as necessary until the capacitor is fully charged. You can use the voltmeter to measure the voltage across the capacitor terminals.
Remember to charge the capacitor to the manufacturer’s specifications and avoid overcharging, as it may lead to damage or even explosion. Once the capacitor is fully charged, disconnect it from the power supply unit and proceed to install it into your car audio system.
Charging a capacitor in a car audio system might seem daunting, but by following these steps, you can safely charge your capacitor and enjoy optimal performance from your car audio system.
Method 2 – Using a Pre-Charged Battery

Another alternative for capacitor charging methods for car audio without a resistor is using a pre-charged battery. This method can be beneficial if you don’t have a power supply unit available and want a convenient and effective way to charge your car audio capacitor.
To use this method, follow these steps:
- Disconnect the power source from your car audio system.
- Connect the negative terminal of the battery to the negative terminal of the capacitor.
- Connect the positive terminal of the battery to the positive terminal of the capacitor.
- Wait for the capacitor to charge fully.
It’s essential to verify that your capacitor is fully charged before using it in your car audio system. You can use a voltage meter to check the charge level, ensuring it meets the manufacturer’s specifications.
While this method can be a safe way to charge a car audio capacitor, be cautious when working with batteries to avoid any potential damage or accidents. Always wear protective gear and follow proper safety measures during the charging process.
Method 3 – Utilizing a T-Piece Connector
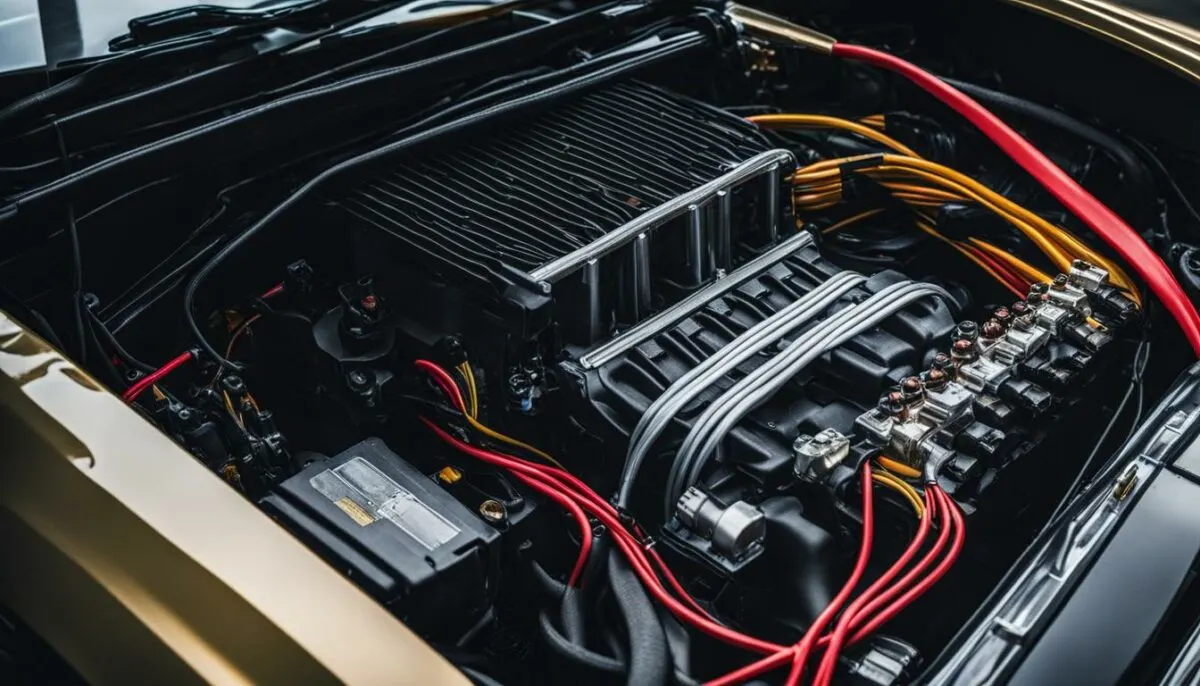
If you’re looking for an effortless and straightforward way to charge your car audio capacitor without a resistor, using a T-piece connector could be the solution. This method is relatively simple and can be achieved with minimum equipment.
Here’s how you can charge your car audio capacitor with a T-piece connector:
- Turn off your vehicle and disconnect the car battery’s negative terminal.
- Locate the amplifier’s power and ground terminals and disconnect them.
- Set the capacitor near the amplifier and connect the positive terminal of the capacitor to the amplifier’s power terminal. Ensure that the connection is tight and secure.
- Connect one end of the T-piece connector to the negative terminal of the capacitor and the other end to the amplifier’s ground terminal.
- Reconnect the car battery’s negative terminal and turn on your vehicle.
- Allow the capacitor to charge for at least 30 minutes before testing it to confirm the charge level.
When using a T-piece connector, it’s crucial to ensure that the capacitors’ polarity is correctly connected. Placing the capacitor in the wrong direction can cause severe damage to your car audio system.
Always check the manufacturer’s instructions, and if you’re not confident about this method, we suggest seeking professional assistance.
Precautions and Safety Measures
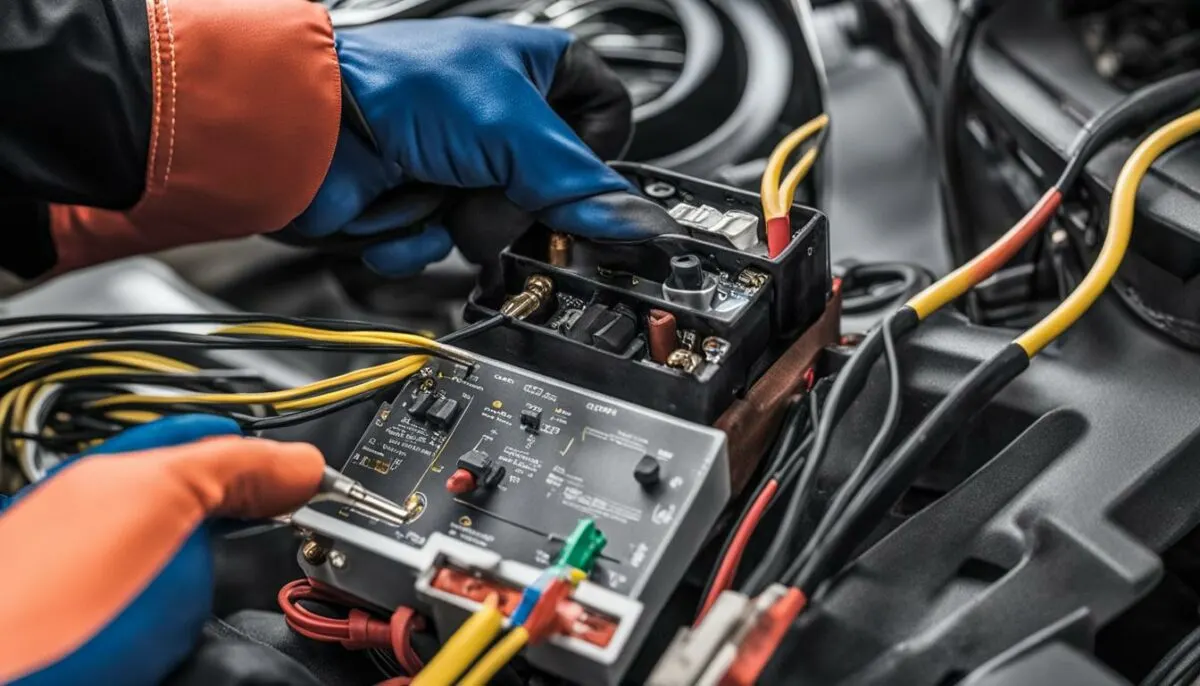
When dealing with electrical components, safety is of utmost importance. Here are some tips to keep in mind when charging a car audio capacitor without a resistor:
- Always wear protective gear – When working with electrical components, be sure to wear safety gloves and goggles.
- Disconnect the power source – Before charging the capacitor, make sure to turn off the power source and disconnect it from the car battery.
- Use the correct tools – To avoid any accidental sparks or short circuits, use the appropriate tools and connectors for your capacitor and power source.
- Follow the manufacturer’s instructions – It’s essential to read and understand the capacitor’s manual and the power source’s instructions to ensure safe and proper charging.
- Charge in a well-ventilated area – When charging the capacitor, make sure to do it in a well-ventilated area to avoid overheating and potential explosions.
- Do not overcharge the capacitor – Overcharging the capacitor can damage it beyond repair. Make sure to follow the recommended charging time and precautions to avoid any complications.
- Verify the charge before installation – Before installing the capacitor in your car audio system, be sure to verify its charge with a multimeter to ensure optimal performance.
By following these tips, you can ensure a safe and successful charging process for your car audio capacitor without a resistor. Stay safe and enjoy your enhanced audio experience!
Image related to Precautions and Safety Measures
Understanding Resistorless Charging
Resistorless charging refers to the process of charging a car audio capacitor without the use of a resistor. While some individuals believe that resistors are an essential component for capacitor charging, this is not always the case.
Resistors are commonly used to limit the flow of current and prevent damage to the capacitor during the charging process. However, there are alternative charging techniques that can be used to ensure safe and successful charging without a resistor.
One of the main advantages of resistorless charging is that it allows for a faster and more efficient charging process. Resistors can create a voltage drop, which can prolong the charging time and reduce efficiency. By eliminating the resistor, the charging process can be more streamlined, resulting in quicker and optimal performance.
Despite the benefits of resistorless charging, it’s important to note that certain precautions should be taken to ensure safe and successful charging. Capacitors should be charged gradually to prevent potential damage or accidents. By following the methods and guidelines provided in this guide, you can confidently charge your car audio capacitor without a resistor and enjoy the enhanced audio performance in your car.
Capacitor Sizing and Selection
Choosing the right capacitor size is crucial to ensure optimal performance in your car audio system. Capacitors are rated in farads, and the size you need depends on various factors, such as your amplifier’s power output and the length and size of your power cable. A general rule of thumb is to have one farad of capacitance for every 1000 watts of power.
When selecting a capacitor, you should also consider its voltage rating, which should be equal to or greater than your amplifier’s voltage rating. A higher voltage rating can help provide a safety margin and prevent potential damage to your amplifier or capacitor.
Capacitors come in different types, such as electrolytic or carbon, and choosing the right type can also impact their performance. Carbon capacitors are more durable and resistant to high temperatures than electrolytic capacitors but are typically more expensive.
It’s essential to carefully consider all of these factors before selecting a capacitor to ensure you choose the right one for your system. Below is a comparison table of popular capacitors used in car audio systems, along with their specifications:
| Capacitor | Size | Voltage Rating | Type |
|---|---|---|---|
| Boss Audio C2 2 Farad Capacitor | 2 Farad | 24V | Electrolytic |
| Rockford Fosgate RFC1 1 Farad Capacitor | 1 Farad | 16V | Carbon |
| Planet Audio PC10F 10 Farad Capacitor | 10 Farad | 24V | Electrolytic |
Keep in mind that these values are not a one-size-fits-all solution and should be used as a reference point. Ensure you understand your system’s needs and choose a capacitor that can meet those requirements.
Testing and Verifying Capacitor Charge
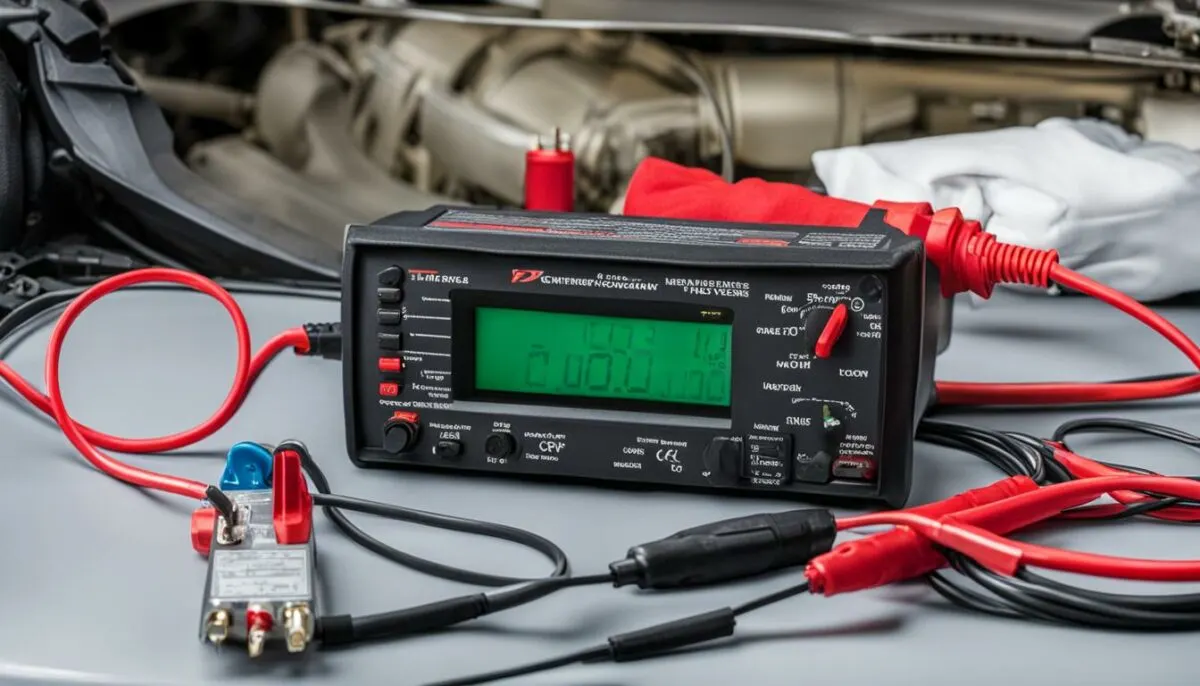
Once you have connected and charged your car audio capacitor without a resistor, it’s essential to verify that it has reached its full charge. Testing and verification ensure that the capacitor is ready for use and can help prevent any potential damage or safety hazards.
One way to test the capacitor’s charge is by using a digital multimeter. Set the multimeter to read voltage and connect the positive and negative leads to the corresponding capacitor terminals. The multimeter should display the voltage value, which should match the capacitor’s rated voltage.
It’s crucial to remember that capacitors can hold a charge even after they have been disconnected from a power source. To prevent any electrical shock or damage, always discharge the capacitor before handling or testing it. You can do this by connecting a resistor or light bulb across the capacitor terminals, allowing it to discharge slowly over time.
Verifying the charge of your car audio capacitor is a simple yet crucial step in ensuring its optimal performance and longevity. Don’t skip this step and always prioritize safety when handling electrical components.
Common Mistakes and Troubleshooting
Charging a car audio capacitor without a resistor can be tricky, and mistakes can happen. In this section, we’ll discuss some common mistakes that people make when charging a capacitor, as well as some troubleshooting tips to help you rectify any issues that may arise.
Mistake #1: Incorrect Wiring
One of the most common mistakes people make when charging a car audio capacitor is incorrect wiring. It’s important to double-check your wiring connections before beginning the charging process to ensure that everything is connected correctly. If you notice any issues with your wiring, make the necessary adjustments before proceeding.
Mistake #2: Overcharging the Capacitor
Overcharging your car audio capacitor can cause damage to the unit, so it’s important to be mindful of the charging time. Refer to the manufacturer’s instructions for the recommended charging time, and use a timer to ensure that you don’t exceed this time. If you’re unsure about the appropriate charging time, contact the capacitor manufacturer for guidance.
Mistake #3: Using the Wrong Charging Method
There are several methods for charging a car audio capacitor without a resistor, but not all of them will work for every unit. Using the wrong charging method can damage your capacitor, so it’s essential to research and select the appropriate method for your specific unit. If you’re unsure about which method to use, consult with a professional.
Troubleshooting Tips
If you encounter any issues while charging your car audio capacitor, try these troubleshooting tips:
- Double-check your wiring connections to ensure they’re correct and secure
- Verify that you’re using the appropriate charging method for your specific capacitor
- Check the voltage level of the power source to ensure it’s within the recommended range
- Test your capacitor with a multimeter to verify that it’s holding the charge
- If you’re unable to resolve the issue, consult with a professional
By understanding common mistakes and troubleshooting tips, you can avoid potential problems and confidently charge your car audio capacitor without a resistor.
Best Practices for Car Audio Capacitor Charging
Charging a car audio capacitor without a resistor can be a safe and effective process if done correctly. Follow these tips and best practices to ensure a successful and hassle-free charging experience.
Tip #1: Avoid Overcharging
Overcharging your car audio capacitor can result in damage to the unit, rendering it unusable. Ensure that you understand the correct voltage and charge time required for your particular capacitor, and follow the recommended guidelines closely.
Tip #2: Use the Right Tools
When charging a car audio capacitor without a resistor, it’s important to use the correct tools and equipment. Make sure you have a reliable power supply unit or pre-charged battery, as well as the necessary cables and connectors to properly charge your capacitor.
Tip #3: Take Precautions
While charging a car audio capacitor without a resistor can be safe, it’s always important to take precautions when dealing with electrical components. Wear protective gear such as gloves and goggles, and ensure that everything is properly grounded and insulated before proceeding with the charging process.
Tip #4: Verify the Charge
Before installing your car audio capacitor into your system, it’s important to verify that it’s fully charged. Use a multimeter or other measuring device to check the voltage and make sure it meets the recommended specifications for your capacitor.
Tip #5: Follow Manufacturer Guidelines
Lastly, always refer to the manufacturer’s guidelines and instructions for charging your car audio capacitor without a resistor. They will provide essential information on proper technique, voltage requirements, and charging time to ensure that your capacitor performs optimally.
By following these tips and best practices, you can confidently charge your car audio capacitor without a resistor, achieving superior audio performance in your car.
Conclusion
Charging your car audio capacitor without a resistor may seem like a daunting task, but by using the safe and practical methods provided in this guide, it can be a hassle-free process. Remember to follow the precautions and safety measures outlined to avoid any potential accidents or damage to your system.
Understanding the principles behind capacitor charging and selecting the appropriate size and type for your system is crucial for optimal performance. Always test and verify the charge of your capacitor before installation and troubleshoot any issues that may arise.
By following best practices and guidelines, you can confidently charge your car audio capacitor without a resistor and enjoy enhanced audio performance while on the road.
FAQ
How important is it to charge a car audio capacitor without using a resistor?
Charging a car audio capacitor without a resistor is not necessary and can potentially damage the capacitor. It is recommended to follow the proper charging methods using a resistor or consult the manufacturer’s guidelines.
Can I charge a car audio capacitor using a power supply unit?
Yes, it is possible to charge a car audio capacitor using a power supply unit. We provide step-by-step instructions on how to connect your capacitor to a power supply unit in Section 3.
Is it safe to charge a car audio capacitor using a pre-charged battery?
Charging a car audio capacitor using a pre-charged battery is a safe method. Section 4 offers detailed guidance on how to connect and charge your capacitor using a pre-charged battery.
How do I charge a car audio capacitor without a resistor using a T-piece connector?
Section 5 explains the process of connecting your car audio capacitor without a resistor using a T-piece connector. It provides a simple and straightforward method.
What precautions should I take when charging a car audio capacitor without using a resistor?
Safety should always be a priority. Section 6 highlights important precautions and safety measures to consider when charging a car audio capacitor without a resistor to prevent any potential damage or accidents.
Why is it possible to charge a car audio capacitor without using a resistor?
Section 7 explains the concept of resistorless charging and why it is possible to charge a car audio capacitor without using a resistor. Understanding this concept will help you confidently charge your capacitor.
How do I test and verify the charge of my car audio capacitor?
Section 9 provides guidance on how to test and confirm the charge of your car audio capacitor before installing it in your system.
What are some common mistakes when charging a car audio capacitor without a resistor?
Section 10 highlights common mistakes individuals make when charging a car audio capacitor without a resistor and provides troubleshooting tips to rectify any issues that may arise.
What are the best practices for charging a car audio capacitor without a resistor?
Section 11 shares best practices to follow when charging a car audio capacitor without a resistor, ensuring optimal performance and longevity of the capacitor.