Improving your car audio system’s performance can be as simple as installing a capacitor. A capacitor provides an additional power source to your audio system, resulting in clearer sound and increased bass response. However, the installation process can seem daunting, especially for those with limited knowledge of car audio systems. In this section, we’ll provide a step-by-step guide on how to install a capacitor for your car audio system, making it a simple process you can complete at home.
Key Takeaways:
- Installing a capacitor can improve your car audio system’s performance by providing additional power when needed.
- The process of installation can seem daunting, but with the right guidance, it can be a simple DIY project.
- Choosing the right capacitor, gathering necessary tools and equipment, and locating the ideal mounting position are crucial steps in the installation process.
- Safety should always be a priority when working with car audio systems.
- Regular maintenance and care can prolong the life and performance of your capacitor.
Why Install a Capacitor for Car Audio?
Are you looking to enhance your car audio’s performance? Installing a capacitor for your car audio system can be a game-changer. A capacitor helps eliminate voltage drop and ensures a stable power supply, resulting in superior audio performance, reduced distortion, and enhanced bass response.
Capacitor installation for better car audio performance is a smart investment for any car audio enthusiast. Not only does it improve audio quality, but it can also protect your car’s electrical system from potential damage caused by voltage spikes.
Car Audio Capacitor Setup
When it comes to car audio capacitor setup, there are several factors to consider. First, you need to determine the power requirements of your car audio system to choose the appropriate capacitor capacity (measured in farads). If your system requires high power, you may need a capacitor with a capacity of 1-3 farads or more. Additionally, you need to consider the available space for installation.
Choosing the right capacitor for your car audio system is essential to ensure optimal performance. An undersized capacitor may not provide enough power, while an oversized capacitor may take up too much space and not provide any additional benefits.
Capacitor Installation for Better Car Audio Performance
Capacitor installation for better car audio performance requires careful planning, attention to detail, and some basic knowledge of car audio systems. While it’s possible to install a capacitor yourself, you may want to seek professional assistance if you’re unsure about the installation process.
Before starting the installation process, make sure you have all the necessary tools and equipment, including a capacitor, wiring kit, wire strippers, crimping tool, electrical tape, and zip ties. You’ll also need to locate the ideal mounting position for the capacitor within your vehicle.
Once you’ve prepared your vehicle, you can begin the installation process by connecting the capacitor to the power source, grounding the capacitor, and wiring the capacitor to the amplifier. Finally, you can reconnect the car battery and test the system to ensure everything is functioning correctly.
Conclusion
Installing a capacitor for car audio can significantly improve your car audio system’s performance, providing additional power when needed and ensuring a stable power supply. By following our step-by-step guide, you can easily install a capacitor for your car audio system and enhance your listening experience. Remember to choose the right capacitor for your specific car audio setup, and follow all safety precautions during the installation process.
Choosing the Right Capacitor for Your Car Audio System

Installing the right capacitor for your car audio system is a crucial step in ensuring optimal performance. Here are some essential factors to consider when choosing a capacitor:
| Factor | Importance | Considerations |
|---|---|---|
| Power requirements | High | Make sure the capacitor’s voltage rating matches or exceeds your car audio system’s power needs. If not, it may not function correctly or efficiently. |
| Capacity (measured in farads) | High | The capacitor’s capacity should match the power needs of your amplifier. Check the amplifier’s manual or contact the manufacturer for recommendations. |
| Available space for installation | Medium | Make sure the capacitor can fit in your desired mounting location and that all necessary wiring can be routed to it easily. |
Following these tips will help you choose the right capacitor for your car audio system and avoid any potential installation issues. Additionally, make sure to purchase a capacitor from a reputable brand and supplier to ensure quality and reliability.
Capacitor Installation Tips
When installing a capacitor for your car audio system, keep these tips in mind:
- Always read the capacitor’s manual and follow all manufacturer instructions closely.
- Choose a suitable mounting location that allows for proper airflow and easy access for wiring.
- Make sure all wiring connections are secure and tight, using appropriate tools for crimping and stripping wires.
- Use electrical tape and zip ties to secure wiring and prevent any potential electrical interference.
- Test the capacitor’s function and performance after installation to ensure everything is working correctly and efficiently.
By following these capacitor installation tips, you can ensure a successful and safe installation process for your car audio system.
Choosing the Right Capacitor for Your Car Audio System
Choosing the right capacitor is essential for the optimal performance of your car audio system. Here are some tips to help you make the best choice:
- Power Requirements: Check your car audio system’s power requirements, usually rated in watts. It’s critical to choose a capacitor that can meet your system’s power demands.
- Capacity: A capacitor’s capacity is measured in farads. The higher the farad rating, the more energy the capacitor can store, providing more power when needed. Ensure that the capacitor you select has the appropriate farad rating for your system.
- Available Space: Capacitors can vary in size and shape, so it’s important to check the available space for installation. Make sure to select a capacitor that will fit comfortably in your vehicle and leave ample room for other components.
Keep in mind that the capacitor’s cost may also vary based on its capacity and brand. It’s best to invest in a high-quality capacitor from a reputable brand for optimal performance and longevity.
Note: Some capacitors come with a built-in digital display that shows the capacitor’s voltage and other metrics. These are typically more expensive but can provide a more accurate and detailed overview of your car audio system’s performance.
Once you have chosen the right capacitor for your car audio system, you’re ready to move on to the installation process. But before we dive into that, let’s ensure that you have all the necessary tools and equipment required for the installation.
Locating the Ideal Mounting Position for the Capacitor
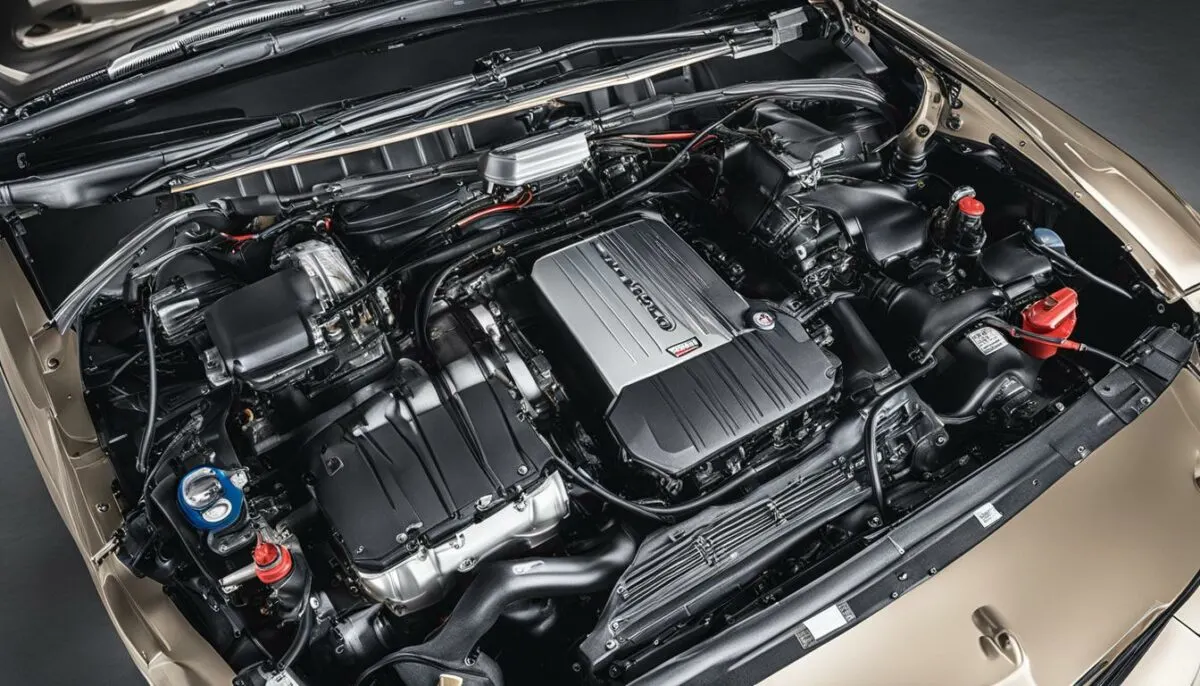
When it comes to capacitor installation tips, finding the best mounting position for your capacitor is crucial for both functionality and aesthetics. You want to ensure that the capacitor is easily accessible for maintenance and care while also being hidden from view to maintain the sleek look of your car’s interior.
The ideal mounting position for your capacitor is somewhere close to your car’s amplifier and battery. This ensures efficient power delivery and reduces the length of the wires required for installation. A shorter wire length minimizes voltage drop, which ultimately leads to better performance for your car audio system.
While choosing a mounting location, remember that the capacitor needs adequate ventilation to avoid overheating. Mounting the capacitor near a heat source or in a confined space can cause performance issues or even damage to the capacitor.
If you are unsure about the ideal mounting position for your capacitor, consult your car audio manual or seek advice from a professional audio installer.
Table: Pros and Cons of Various Capacitor Mounting Positions
| Mounting Position | Pros | Cons |
|---|---|---|
| Near the Amplifier | Efficient power delivery, shorter wire length | May require additional wiring, risk of damage from amplifier heat |
| Near the Battery | Easy access for maintenance and care, reduced cable length | May require additional wiring, risk of damage from battery heat |
| Under the Seat | Hidden from view, easy installation | May require longer wire length, reduced ventilation |
Remember, the location you choose for your capacitor can have a significant impact on its performance and longevity. Take the time to carefully consider the ideal mounting position for your specific car audio system.
Disconnecting the Battery and Removing Panels
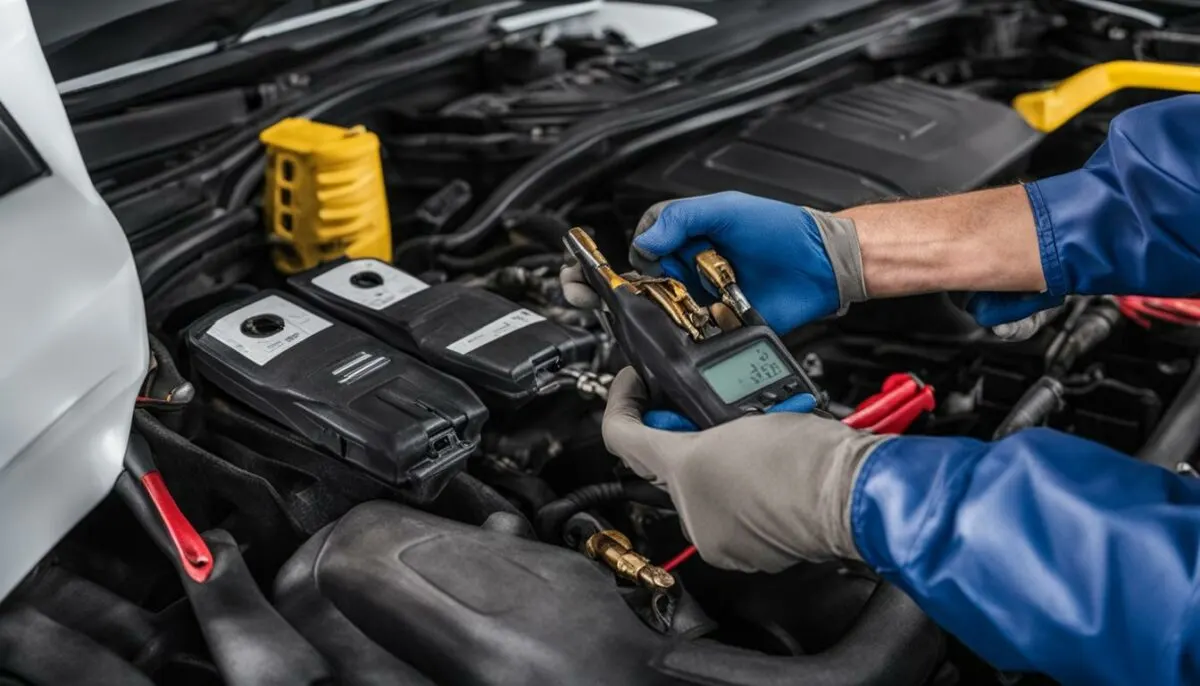
Before starting the capacitor installation process, it’s essential to ensure your safety by disconnecting the car battery. This step is crucial to avoid any accidental electric shock or injury. To remove the battery, follow the instructions provided in your car’s manual.
Once you’ve disconnected the battery, you may need to remove some panels or covers to access the wiring and mounting areas. Refer to your car’s manual to determine which parts need to be removed and follow the manufacturer’s instructions carefully.
It’s essential to keep safety in mind when removing any covers or panels. Use the proper tools and avoid using excessive force that could damage the parts or injure yourself. Always work in a well-lit area and avoid disconnecting any wires or cables that are not related to the capacitor installation process.
Keep the removed panels and screws in a safe place to avoid losing them and ensure you can replace them correctly once the installation is complete. Also, take care when setting them aside to avoid damaging any wires or components that may be attached to the panels.
Connecting the Capacitor to the Power Source
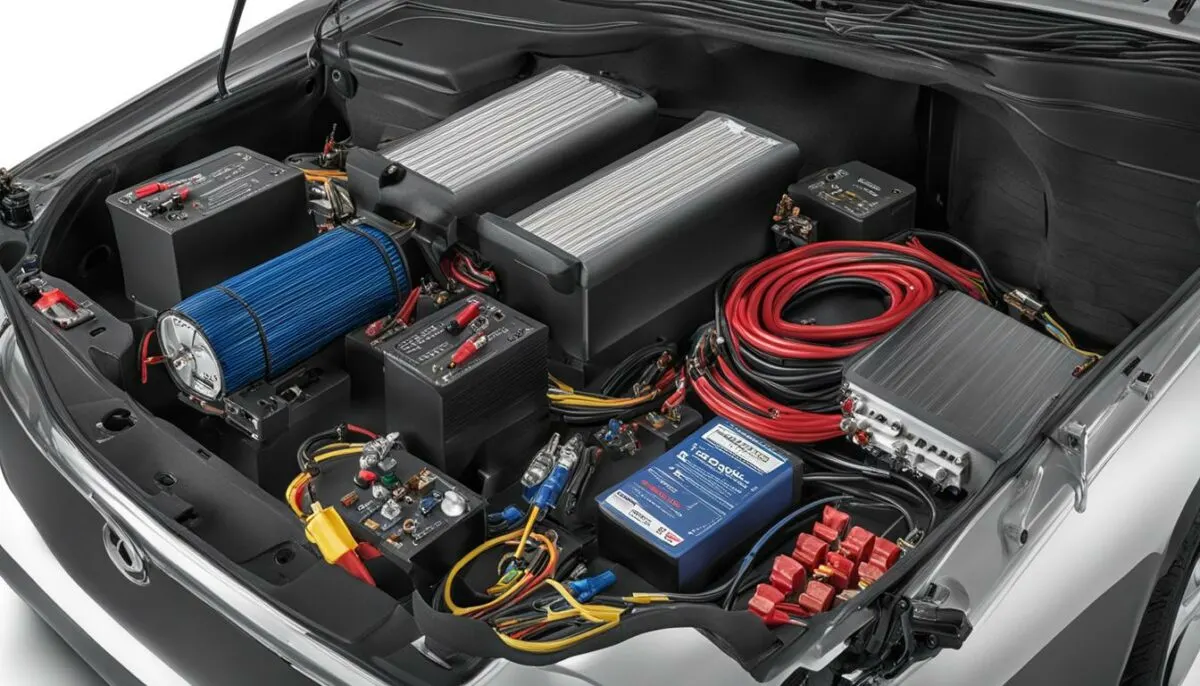
Now that you’ve prepared your vehicle, it’s time to connect the capacitor to the power source. Follow these instructions for proper wiring:
- Identify the power and ground wires on your car’s amplifier. In most cases, the power wire will be red and the ground wire will be black.
- Locate the remote turn-on wire, which is usually blue, on your amplifier. If your amplifier doesn’t have a remote turn-on wire, you can connect the capacitor’s remote turn-on wire to your car’s accessory wire.
- Connect the power wire from the amplifier to the capacitor’s positive terminal. Use a crimping tool or soldering iron to securely connect the wires.
- Connect the ground wire from the amplifier to a suitable grounding point, such as the chassis or a designated grounding point. Make sure the ground connection is clean and secure to prevent any interference.
- Connect the remote turn-on wire from the amplifier to the capacitor’s remote turn-on terminal. This wire allows the capacitor to turn on and off with your car’s ignition, preventing any battery drain.
- Double-check all connections to ensure they are secure and properly insulated. You can also use electrical tape or zip ties to secure any loose wires.
Once you’ve completed wiring, you can turn your car’s ignition on and test your car audio system. If everything is working correctly, you should notice an improvement in sound quality, especially when playing bass-heavy music.
Grounding the Capacitor
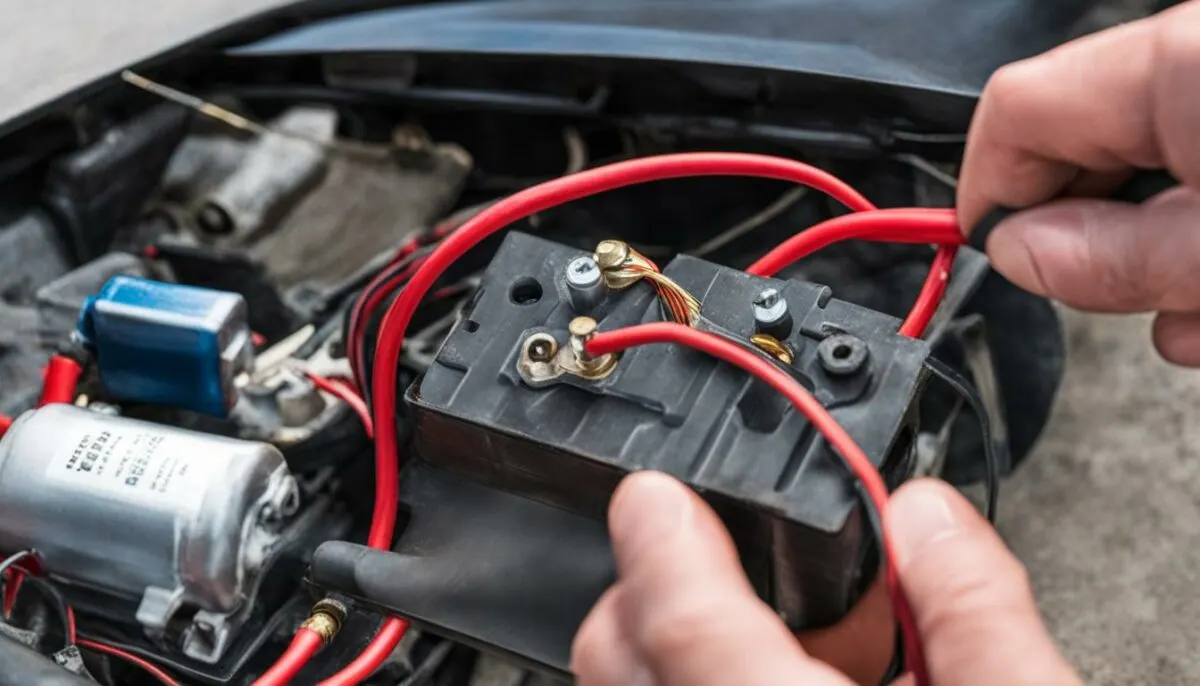
After connecting the capacitor to the power source, the next step is grounding the capacitor to ensure proper functionality.
The most common grounding method is to connect the capacitor’s negative terminal to the vehicle’s chassis or a designated grounding point. To do this:
- Locate a suitable grounding point near the capacitor and ensure it is clean and free of rust or paint.
- Use a wire stripper to remove approximately 1/2 inch of insulation from the grounding wire.
- Connect the grounding wire to the capacitor’s negative terminal and the grounding point using a crimping tool.
- Ensure the connection is tight and secure.
Once the capacitor is grounded, use electrical tape to secure any exposed wires and prevent potential damage or injury.
It’s crucial to avoid grounding the capacitor to any other part of the car audio system, such as the amplifier or speaker wires. Doing so can cause significant damage and reduce the capacitor’s effectiveness.
Proper grounding is essential for the capacitor’s optimal performance and durability. By following these capacitor wiring instructions, you can ensure a safe and efficient installation process.
Wiring the Capacitor to the Amplifier
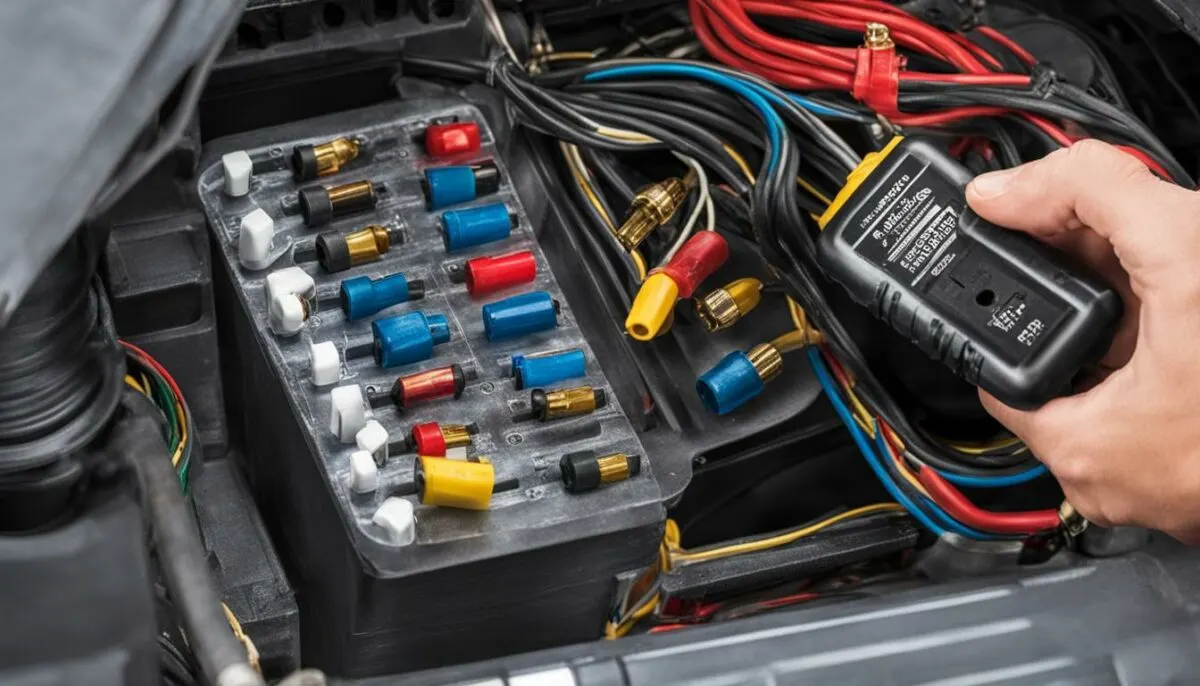
Connecting the capacitor to your amplifier is a critical step for ensuring efficient power delivery to your car audio system. Follow these capacitor wiring instructions to ensure a secure and reliable connection:
- Locate the positive and negative terminals on your amplifier.
- Using a wire stripper, strip about half an inch of insulation from the end of the power wire that runs from the capacitor.
- Insert the exposed wire into the amplifier’s positive terminal and tighten the screw to secure the connection.
- Repeat the previous step for the ground wire, inserting it into the amplifier’s negative terminal and tightening the screw to secure the connection.
- Using a zip tie or electrical tape, secure the wires and tidy up any loose ends or excess wire.
Once you’ve completed the connection, you can test your car audio system to ensure the capacitor is functioning correctly. Turn on your car’s engine and play some music at your desired volume level. You should notice improved sound quality, reduced distortion, and enhanced bass response, highlighting the value of your capacitor installation. If you encounter any issues during the testing process, refer back to the troubleshooting section for assistance.
Reconnecting the Battery and Testing the System
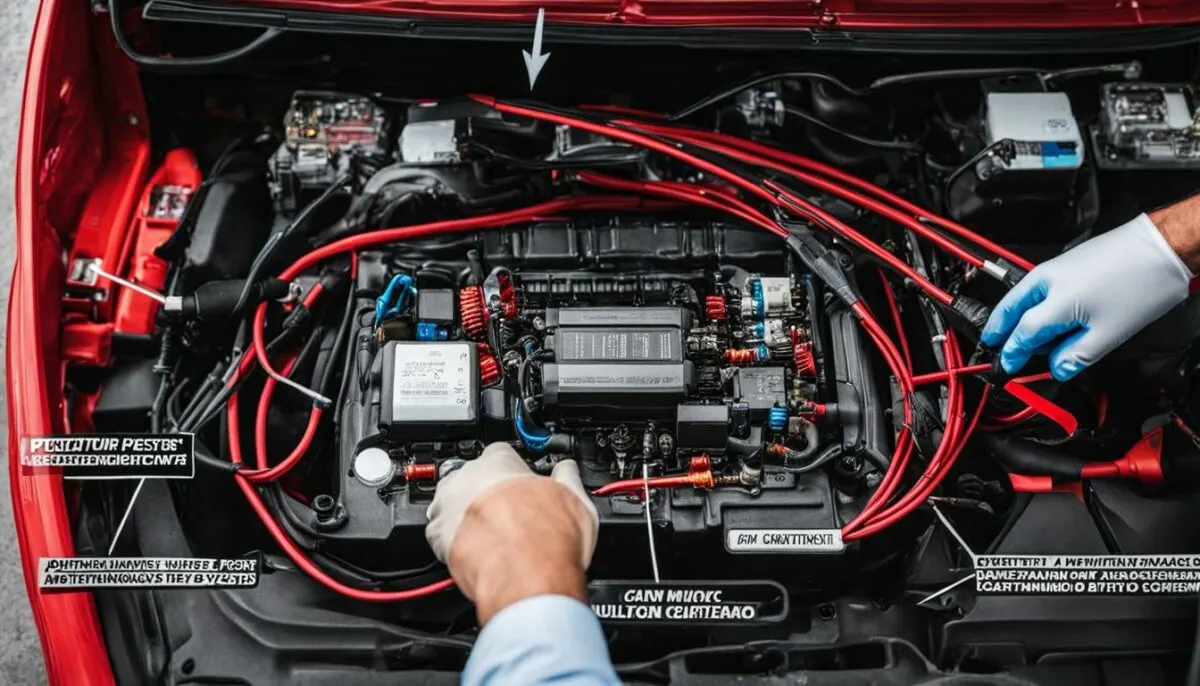
Once you have completed the installation process and connected the capacitor to the power source and amplifier, it’s time to reconnect the car battery and test your car audio system. Before doing so, double-check all connections to ensure they are secure and grounded properly.
When you are confident all connections are correct, reconnect the car battery and turn on your car audio system. You should notice a significant improvement in sound quality and bass response.
If you experience any issues, such as distorted sound or system malfunctions, try troubleshooting the system. Refer to the troubleshooting tips in Section 12 or seek expert advice.
It’s also a good idea to monitor the capacitor’s performance regularly to ensure it’s functioning correctly. You can do this by checking the voltage across the capacitor and verifying it maintains a stable voltage reading.
Remember to take the proper safety precautions when working with car audio systems. Always wear protective equipment such as gloves and safety glasses, and avoid touching any live wires or connections.
Capacitor Maintenance and Care
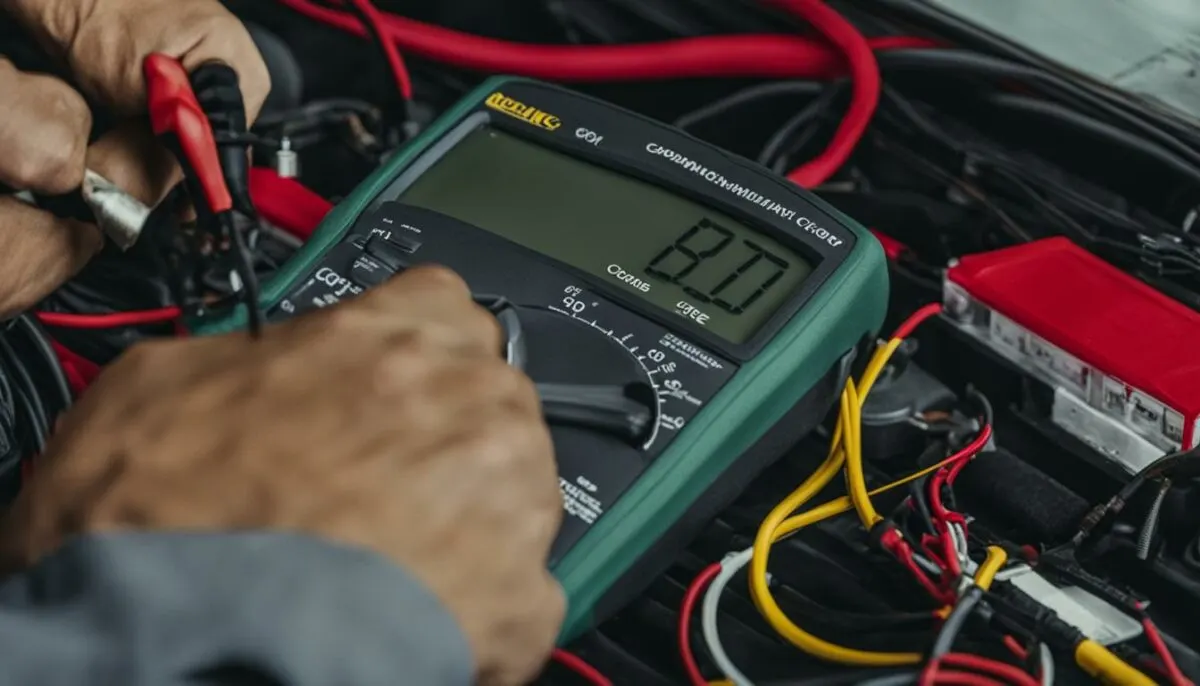
Performing regular maintenance and care on your capacitor can help prolong its lifespan and ensure optimal performance. Here are some helpful tips:
- Clean the terminals: Over time, dust and debris can accumulate on the capacitor’s terminals, affecting its conductivity. Use a soft brush or cloth to gently clean the terminals periodically.
- Inspect for damage: Check your capacitor regularly for any signs of physical damage, such as cracks or bulges. If you notice any damage, it’s best to replace the capacitor to prevent further issues.
- Check the voltage: Use a voltmeter to check the voltage of your capacitor periodically. If you notice a significant drop in voltage, it may indicate an issue with your capacitor or car audio system.
- Ensure proper ventilation: Capacitors can generate heat during use, so it’s important to ensure proper ventilation to prevent overheating. Avoid installing the capacitor in an area with limited airflow or near heat sources.
Remember to always follow the manufacturer’s instructions for your specific capacitor model regarding maintenance and care.
Expert Tip: If you’re unsure about how to properly maintain or care for your capacitor, consult a professional car audio technician for guidance.
Capacitor Installation Tips
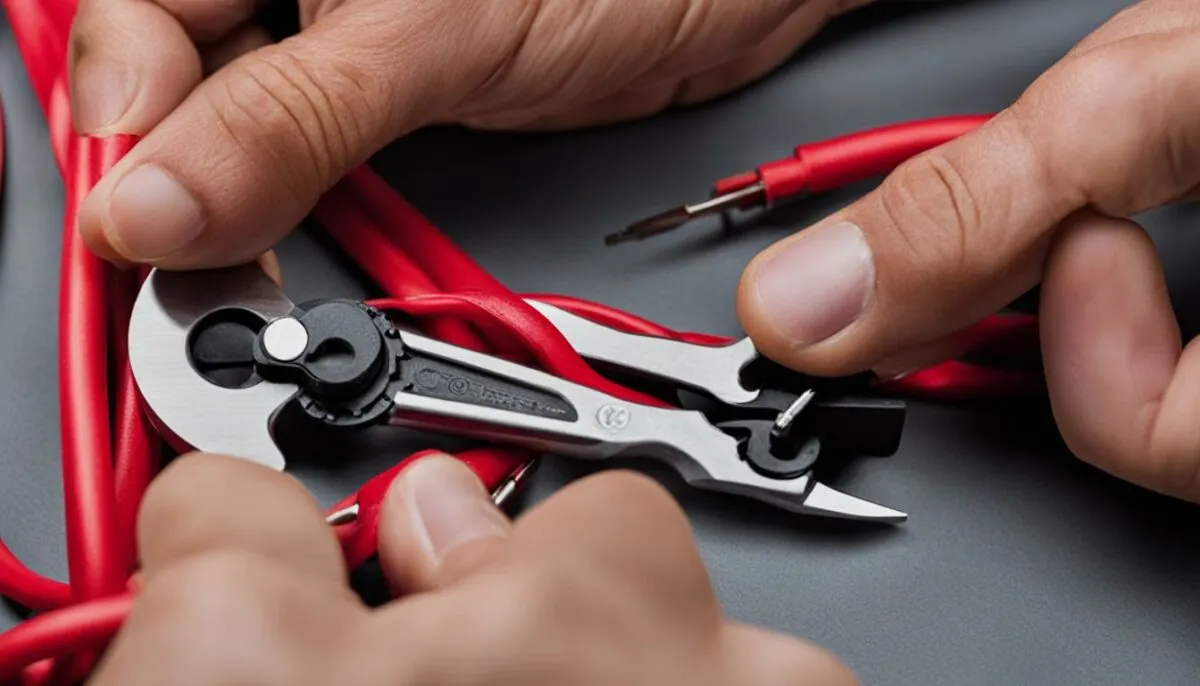
While installing a capacitor for your car audio system can be a DIY project, it does require some technical expertise and attention to detail. Below are some capacitor installation tips to ensure a successful installation:
Tip 1: Choose the right size capacitor. The size of the capacitor you choose should be based on your car audio system’s power requirements. By choosing the right size capacitor, you can ensure that it provides the necessary power without causing any issues.
Tip 2: Mount the capacitor in a secure location. The location where you mount the capacitor should be secure and stable to prevent any damage or interference with other components. An ideal location is near the amplifier or in the engine bay.
Tip 3: Follow the manufacturer’s instructions. Be sure to read and follow the capacitor manufacturer’s instructions carefully to ensure proper installation. This includes wiring instructions, specific mounting requirements, and any other essential details.
Tip 4: Use high-quality wiring and connectors. Use quality wiring and connectors throughout the installation process to ensure a secure and reliable connection. This can help prevent any issues with voltage drop or improper capacitor function.
Tip 5: Test the system thoroughly. Once the installation is complete, test your car audio system thoroughly to ensure everything is functioning correctly. If you encounter any issues, refer back to the manufacturer’s instructions or seek professional assistance.
Expert Tip:
“Capacitor installation requires attention to detail and proper technical knowledge. If you’re unsure about any aspect of the installation process, it’s always best to seek expert assistance to avoid any damage to your car audio system or vehicle.”
By following these tips and guidelines, you can ensure a successful and efficient capacitor installation for your car audio system.
Upgrading Your Car Audio System with a Capacitor
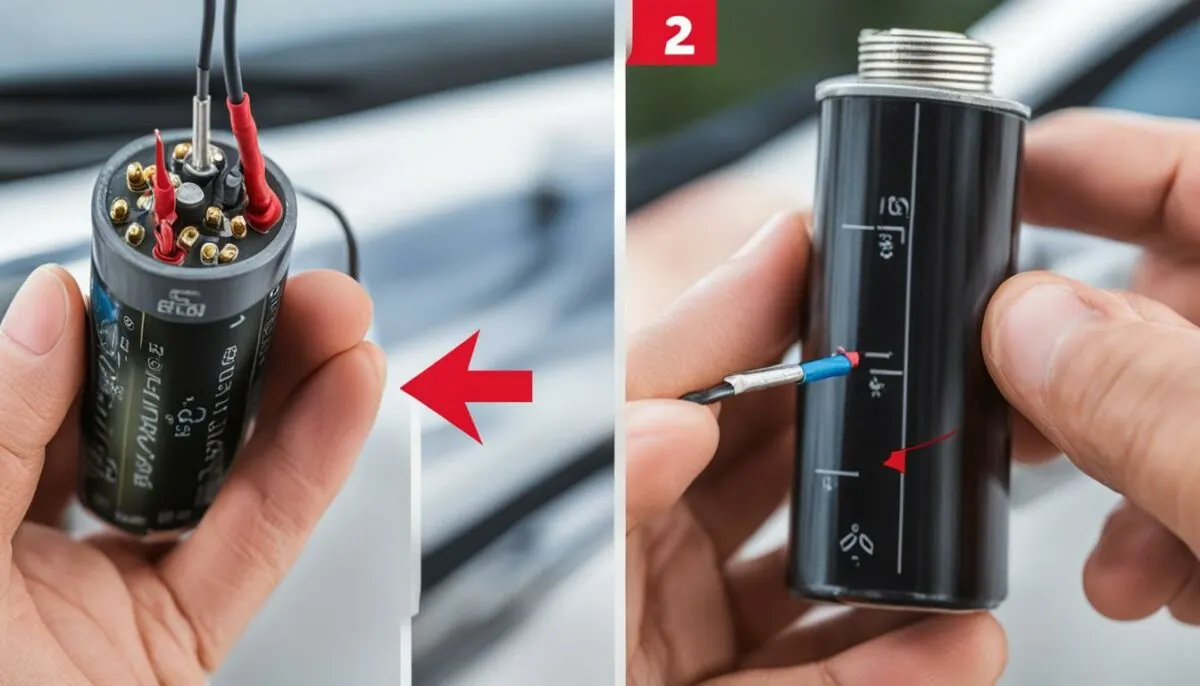
If you already have a car audio system and want to take it to the next level, installing a capacitor can be a valuable upgrade. Here are some tips to consider:
Assess Your Power Needs
Before choosing a capacitor, assess your car audio system’s power needs. You’ll want to select a capacitor that can handle your system’s peak power demands, measured in farads. Generally, a capacitor with one farad of capacity can support up to 1,000 watts of power. However, it’s best to consult with a professional if you’re unsure.
Consider Available Space
Capacitors come in different shapes and sizes, so it’s crucial to choose one that will fit in your vehicle. Consider the available space and the capacitor’s dimensions before making a purchase.
Installation Location
When upgrading your car audio system with a capacitor, you have several mounting options. Some popular locations include the trunk, under the hood, or near the amplifier. Consider the accessibility of the location, as well as cable routing and length.
Professional Installation
If you’re unsure about installing a capacitor or don’t have the necessary tools and equipment, seek the help of a professional. A professional installation can ensure that your car audio system operates at its best while keeping you and your vehicle safe.
Expert Advice: “When upgrading your car audio system with a capacitor, it’s important to match the capacitor’s capacity with your system’s power needs. Also, consider the location of the capacitor and how easy it is to access for maintenance and care.”
- Assess your car audio system’s power needs before choosing a capacitor
- Choose a capacitor that fits within the available space in your vehicle
- Consider accessible and convenient locations for capacitor installation
- Seek professional help if you’re unsure or lack the necessary tools and equipment
By upgrading your car audio system with a capacitor, you can improve the system’s performance, resulting in enhanced sound quality and reduced distortion. Follow these tips for a successful and efficient upgrade.
Safety Precautions during Capacitor Installation
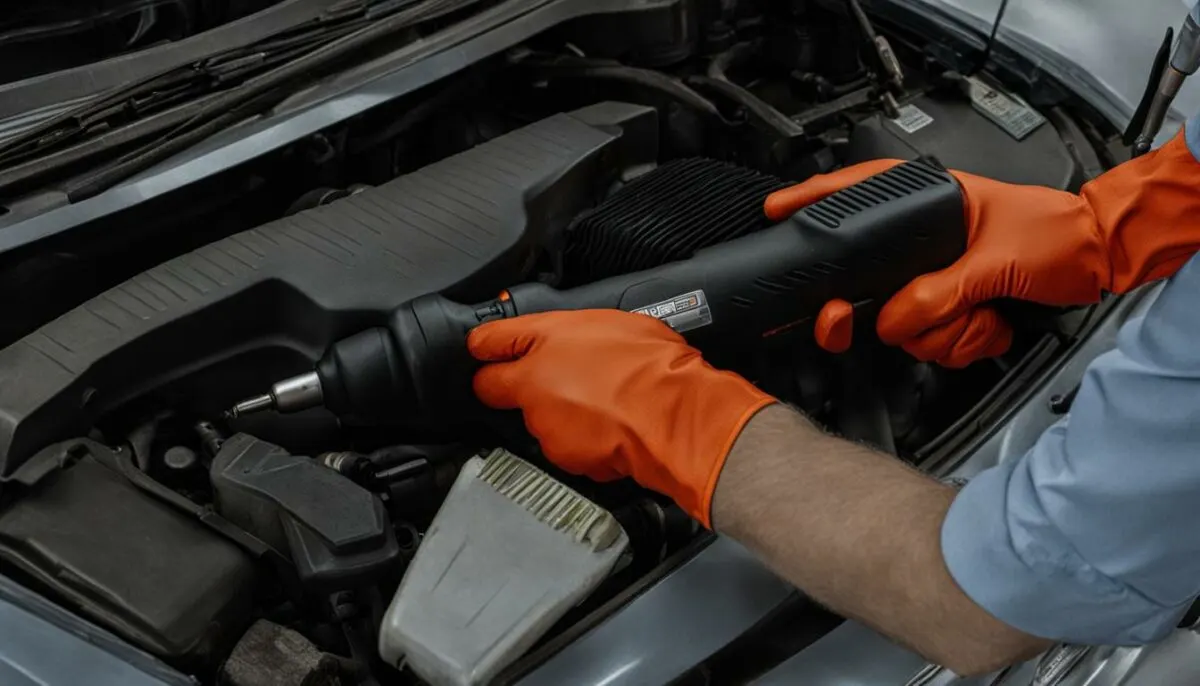
Installing a capacitor for car audio can be a rewarding DIY project, but it’s essential to prioritize safety throughout the process. Here are some safety precautions to follow:
- Disconnect the car battery: Before beginning any work, disconnect the car battery to prevent electrical shock or damage to the vehicle.
- Work in a well-ventilated area: Capacitor installation can create fumes or smoke, so make sure your workspace is adequately ventilated.
- Wear safety gear: Protective gear such as safety glasses and gloves can prevent injury from flying debris or electrical shock.
- Use proper tools: Use only appropriate tools for the job, such as wire strippers and crimping tools, to prevent damage to the components and ensure a secure connection.
- Follow instructions carefully: Always follow the manufacturer’s instructions for both the capacitor and your car’s electrical system. Improper installation can lead to damage or failure of the capacitor or other components.
- Get expert advice: If you’re unsure about any aspect of installation, seek advice from a professional car audio installer.
By following these safety precautions, you can ensure a safe and successful capacitor installation for your car audio system.
Expert Advice for Installing a Capacitor for Car Audio
While this guide provides all the necessary information for a successful capacitor installation, seeking expert advice can always be helpful. Here are some additional capacitor installation tips from car audio professionals.
“One of the most crucial things when installing a capacitor is ensuring proper grounding. Make sure to connect the capacitor’s ground wire to a clean and unpainted metal surface on the vehicle’s chassis.”
– John, Car Audio Installation Technician
“Always check the manufacturer’s recommendations for the appropriate capacitor size and installation instructions. An incorrectly sized or installed capacitor can lead to system damage.”
– Sarah, Car Audio Sales Representative
It’s also recommended to test the system with a multimeter before and after installation to ensure proper voltage levels and operation.
By following these expert tips, you can ensure a safe and successful capacitor installation for your car audio system.
Conclusion
By following this step-by-step guide, you can easily install a capacitor for your car audio system without the need for a professional. Not only does a capacitor improve your car audio’s performance by providing additional power when needed, but it also helps prevent voltage drop, ensures a stable power supply, reduces distortion, and enhances bass response.
Remember to choose the right capacitor for your specific car audio system, gather all the necessary tools and equipment, locate the ideal mounting position, disconnect the battery and remove panels, connect and ground the capacitor properly, wire it to the amplifier, and test the system to ensure everything is functioning correctly.
Safety Precautions during Capacitor Installation
When working with car audio systems, safety should always be a priority. Remember to wear appropriate protective gear, such as gloves and safety glasses, and follow proper safety precautions when handling electricity and wiring. Additionally, avoid installing the capacitor in areas that could pose a safety hazard, such as near the fuel tank, brake lines, or any other sensitive components.
Expert Advice for Installing a Capacitor for Car Audio
If you have any questions or concerns about installing a capacitor for your car audio system, it’s always helpful to seek expert advice. Consult with a reputable car audio professional for additional tips and insights, or refer to your car audio system’s manual for specific instructions and guidelines.
With this guide, you’re well on your way to upgrading your car audio system with a capacitor and enjoying enhanced sound quality on the road. Remember to perform regular maintenance and care for your capacitor to prolong its life and performance, and troubleshoot any common issues that may arise. Happy listening!
FAQ
Why should I install a capacitor for my car audio system?
Installing a capacitor can help prevent voltage drop, ensure a stable power supply, and improve audio performance, reducing distortion and enhancing bass response.
How do I choose the right capacitor for my car audio system?
Factors to consider include your system’s power requirements, the capacitor’s capacity (measured in farads), and the available space for installation. We’ll provide some tips to help you make the best choice.
What tools and equipment do I need for capacitor installation?
You’ll need a capacitor, wiring kit, wire strippers, crimping tool, electrical tape, and zip ties. We’ll outline everything you need to have on hand.
Where should I mount the capacitor in my vehicle?
Finding the ideal mounting position is crucial for functionality and aesthetics. We’ll provide tips on where to mount the capacitor for optimal performance and convenience.
How do I connect the capacitor to the power source?
We’ll provide detailed instructions on how to properly wire the capacitor to ensure a secure and reliable connection.
How do I ground the capacitor?
Proper grounding is essential for functionality. We’ll guide you through the process of grounding the capacitor to a suitable location within your vehicle.
How do I wire the capacitor to my amplifier?
Connecting the capacitor to your amplifier is a crucial step. We’ll explain how to properly wire the capacitor to ensure efficient power delivery to your car audio system.
How do I troubleshoot common issues during capacitor installation?
We’ll cover some troubleshooting tips for addressing common issues such as voltage drop, noise interference, or improper capacitor function.
How do I maintain and care for my capacitor?
To prolong the life and performance of your capacitor, regular maintenance and care are important. We’ll share tips on how to keep your capacitor in optimal condition.
Can I upgrade my existing car audio system with a capacitor?
If you already have a car audio system but want to enhance its performance, installing a capacitor can be a valuable upgrade. We’ll provide insights on how a capacitor can improve your system and steps to upgrade your existing setup.
What safety precautions should I follow during capacitor installation?
Safety should always be a priority. We’ll outline some safety precautions you should follow during the capacitor installation process to prevent accidents or damage.
Do you have any expert advice for installing a capacitor for car audio?
While this guide aims to provide all the necessary information, seeking expert advice can be helpful. We’ll share some additional tips and insights from car audio professionals.
Can I install a capacitor for my car audio system without professional help?
By following this step-by-step guide, you can easily install a capacitor for your car audio system without the need for a professional. Enhance your car audio’s performance with a stable power supply and improved sound quality.