Connecting your old camcorder to your new smart TV may seem challenging, but it’s actually a straightforward process. With the right cables and a little know-how, you can relive those cherished memories captured on tape and enjoy them on a modern, high-definition screen. In this guide, we’ll walk you through the steps to connect your old camcorder to your smart TV, allowing you to watch your camcorder footage on a larger screen with improved picture and sound quality.
- Check the available ports on both your camcorder and smart TV to determine the type of cable needed for the connection.
- Gather the necessary cables, such as AV cables or HDMI cables, depending on the ports of your camcorder and smart TV.
- Connect the camcorder to the TV by plugging in the appropriate cables.
- Adjust the TV input settings to view the camcorder footage on your smart TV.
- Play the camcorder footage on your smart TV and enjoy watching your memories on the big screen.
Step 1: Check the Ports

Before connecting your old camcorder to your smart TV, it’s essential to check the available ports on both devices. This step will help you determine the type of cable needed for the connection.
Camcorders typically have two types of output ports: AV output and HDMI output. The AV output consists of yellow, red, and white ports, while the HDMI output is a single port.
On the other hand, smart TVs offer multiple input options, including HDMI, composite, and component ports. By identifying the ports on both your camcorder and smart TV, you can match them and select the appropriate cable for connection.
The following table illustrates the common ports found on camcorders and smart TVs:
| Device | Port Type |
|---|---|
| Camcorder |
|
| Smart TV |
|
Take a moment to inspect your camcorder and smart TV for these ports. The image below provides a visual reference of the AV output and HDMI output ports:
By checking the available ports on both devices, you’ll be well-equipped to proceed with the next steps of connecting your old camcorder to your smart TV.
Step 2: Gather the Necessary Cables
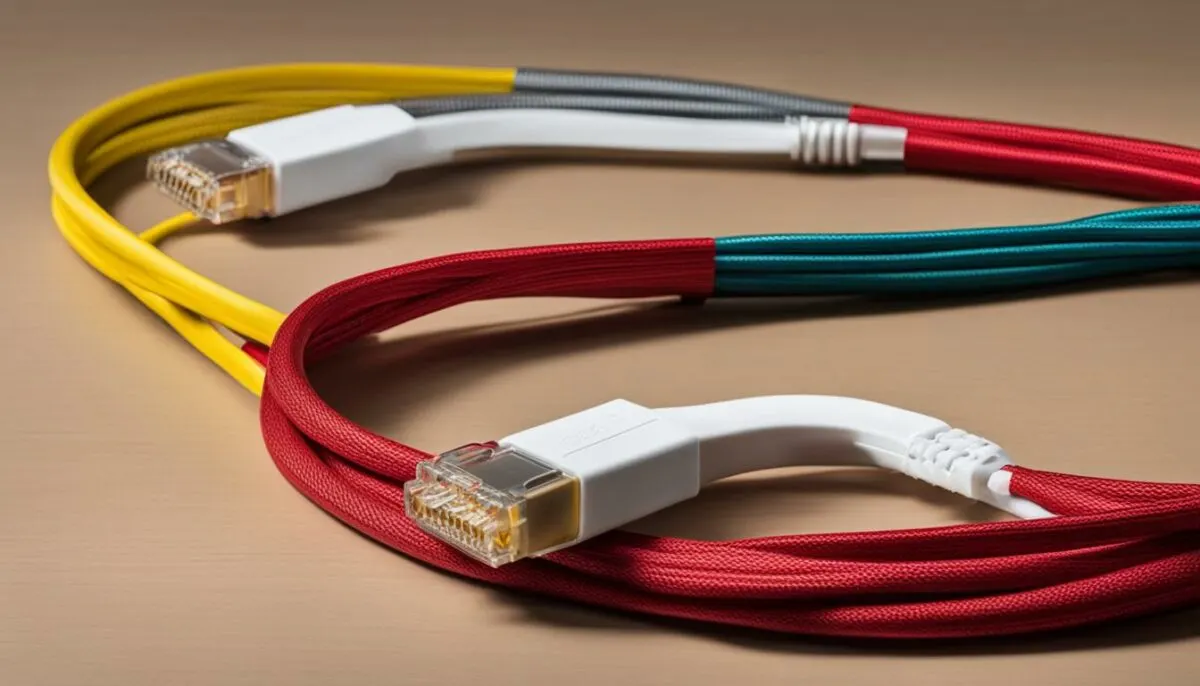
Now that you have identified the ports on your camcorder and smart TV, the next step is to gather the necessary cables for the connection. The type of cable you need will depend on the output ports available on your camcorder.
AV Output:
If your camcorder has an AV output, you will need an AV cable with color-coded connectors. The AV cable typically consists of yellow, red, and white connectors, which correspond to the video and audio signals.
Make sure to check the length and quality of the AV cable when purchasing to ensure a reliable and secure connection between your camcorder and smart TV.
HDMI Output:
For camcorders with an HDMI output, you will need an HDMI cable. HDMI cables are capable of transmitting high-definition video and audio signals from your camcorder to your smart TV.
When selecting an HDMI cable, consider the length and quality of the cable to ensure optimal performance and compatibility with your devices.
By gathering the necessary cables, you will be one step closer to connecting your old camcorder to your smart TV and enjoying your cherished memories on a larger screen.
Now that you have the cables, let’s move on to the next step: connecting your camcorder to the TV. This will involve plugging the cables into the corresponding ports on both devices and ensuring a secure connection.
Step 3: Connect the Camcorder to the TV
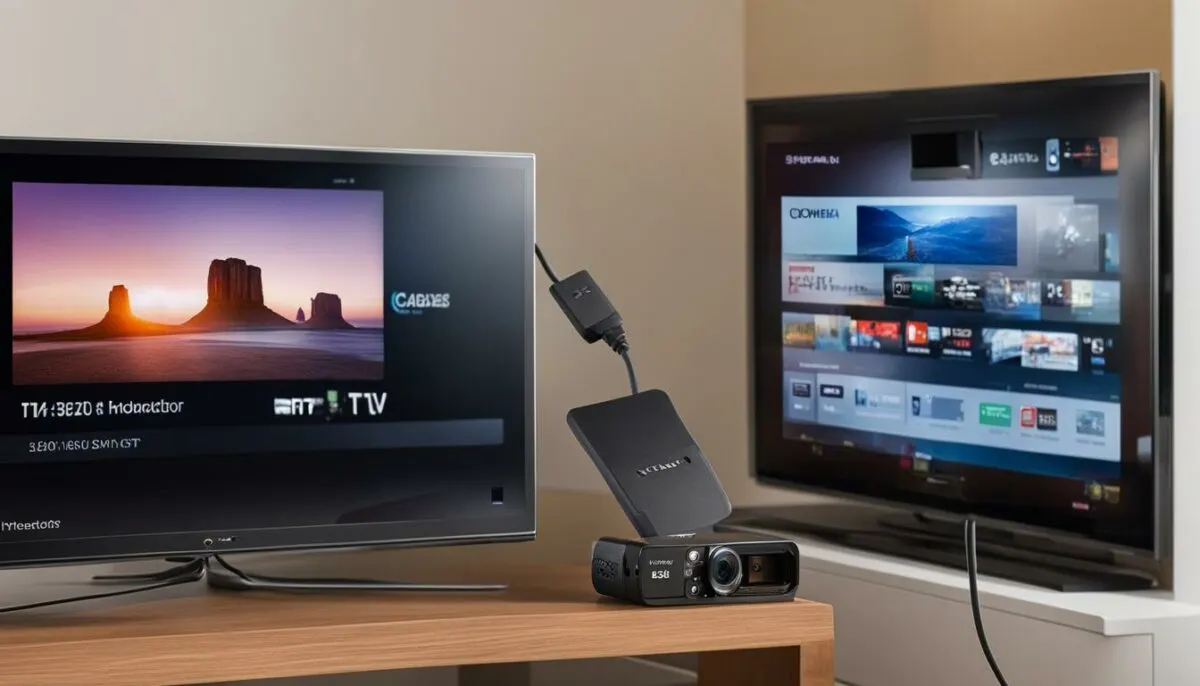
With the necessary cables in hand, it’s time to connect your old camcorder to your smart TV. Depending on the type of camcorder you have, you will either use an AV output connection or an HDMI output connection.
AV Output Connection:
- Locate the AV output ports on your camcorder. These ports are color-coded with yellow, red, and white connectors.
- Take one end of the AV cable and plug the yellow connector into the yellow port on your camcorder. Connect the red and white connectors to their respective color-coded ports.
- Now, find the corresponding AV input ports on your smart TV. They may also be color-coded with yellow, red, and white. Plug the other end of the AV cable into the matching ports on your TV.
- Ensure that both ends of the cable are securely connected.
If you don’t see any color-coded ports on your TV, don’t worry! Most modern TVs still support AV connections, but the ports may be labeled differently. Check your TV’s manual for more information on how to connect AV devices.
HDMI Output Connection:
“Connecting your camcorder to your smart TV using an HDMI cable is even easier and provides a higher quality connection.”
- Locate the HDMI output port on your camcorder. It looks similar to a standard USB port but slightly larger.
- Take one end of the HDMI cable and insert it into the HDMI output port on your camcorder.
- Now, find an available HDMI input port on your smart TV and connect the other end of the HDMI cable into it.
- Make sure that both ends of the cable are securely plugged in.
Once you’ve successfully connected the camcorder to your TV using either the AV output or HDMI output connection, you’re ready to proceed to the next step and adjust the TV input settings.
Step 4: Adjust TV Input Settings
Once you have successfully connected your camcorder to your smart TV, the next step is to adjust the TV input settings to view the camcorder footage. This will allow you to switch the TV’s input source, so you can access and enjoy your old camcorder memories on the big screen.
Here’s how to adjust the TV input settings:
- Grab your TV remote control and locate the input/source button. This button may be labeled differently depending on your TV model, but it is typically denoted by an icon or text that represents input selection.
- Press the input/source button on your remote control to bring up the input menu on your TV screen.
- Using the directional buttons on your remote control, navigate to the input option that corresponds to the port you connected your camcorder to. For example, if you connected your camcorder using the HDMI port, select the HDMI input option.
- Once you have selected the correct input, press the OK or Enter button on your remote control to confirm your selection.
- (Optional) If desired, you can further customize your TV input settings by renaming the input label. This can help you better organize and identify different input sources on your TV. Refer to your TV’s user manual for specific instructions on how to rename input labels.
By adjusting the TV input settings, you ensure that your smart TV receives the signal from your camcorder and displays the corresponding footage on the screen. Now, you’re ready to relive those precious moments captured on your old camcorder.
Now that you have adjusted the TV input settings, it’s time to play the camcorder footage on your smart TV. In the next step, we will guide you on how to play the footage and make the most of your viewing experience.
Step 5: Play the Camcorder Footage on Your Smart TV
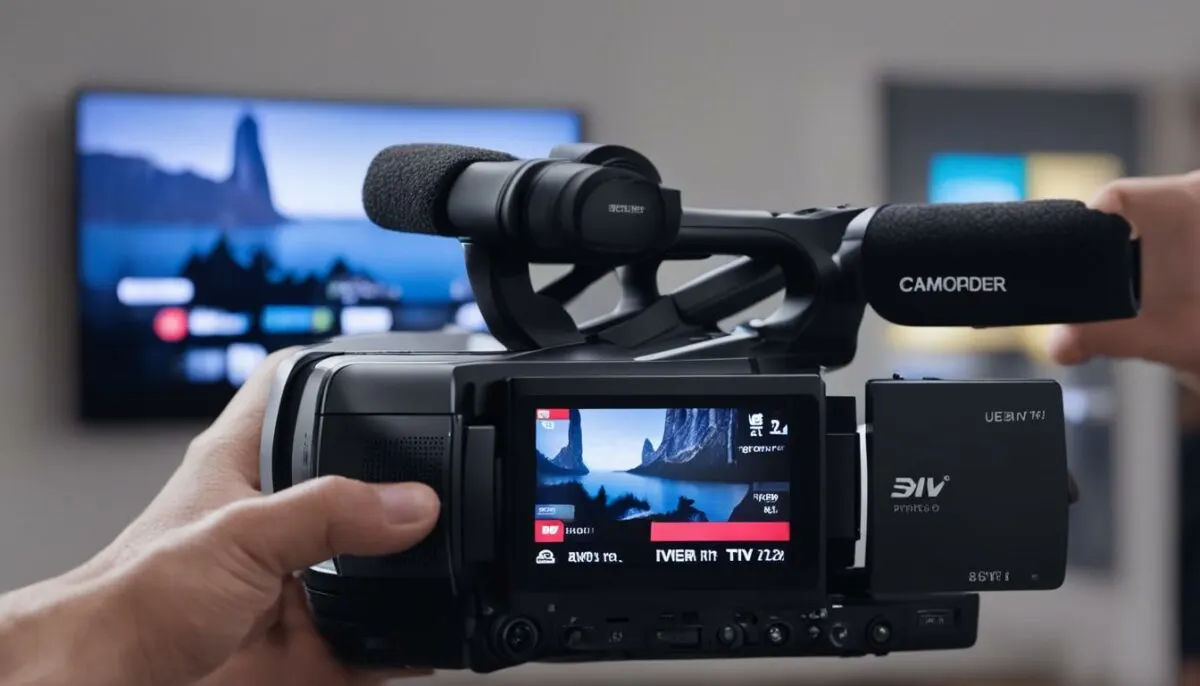
Now that you have adjusted the input settings, it’s time to play the footage from your old camcorder on your smart TV. Just follow these simple steps:
- Turn on your camcorder and cue up the tape or media containing the desired footage.
- Select the input/source on your smart TV that corresponds to the camcorder connection. This will ensure that the TV receives the signal from your camcorder.
- Use the playback controls on your camcorder to control the footage. You can pause, rewind, fast-forward, or even adjust the volume on your camcorder, depending on its capabilities.
- If you prefer to control the volume on your TV, use the TV’s audio controls to adjust the sound as desired.
Now, sit back, relax, and enjoy watching your camcorder footage on the big screen of your smart TV. It’s a great way to relive those special moments and share them with friends and family.
“Watching my old camcorder footage on my smart TV was like taking a trip down memory lane. The quality was amazing, and it felt like reliving those moments all over again.” – Jane Doe, Happy Camcorder User
Using A/V Cables to Connect
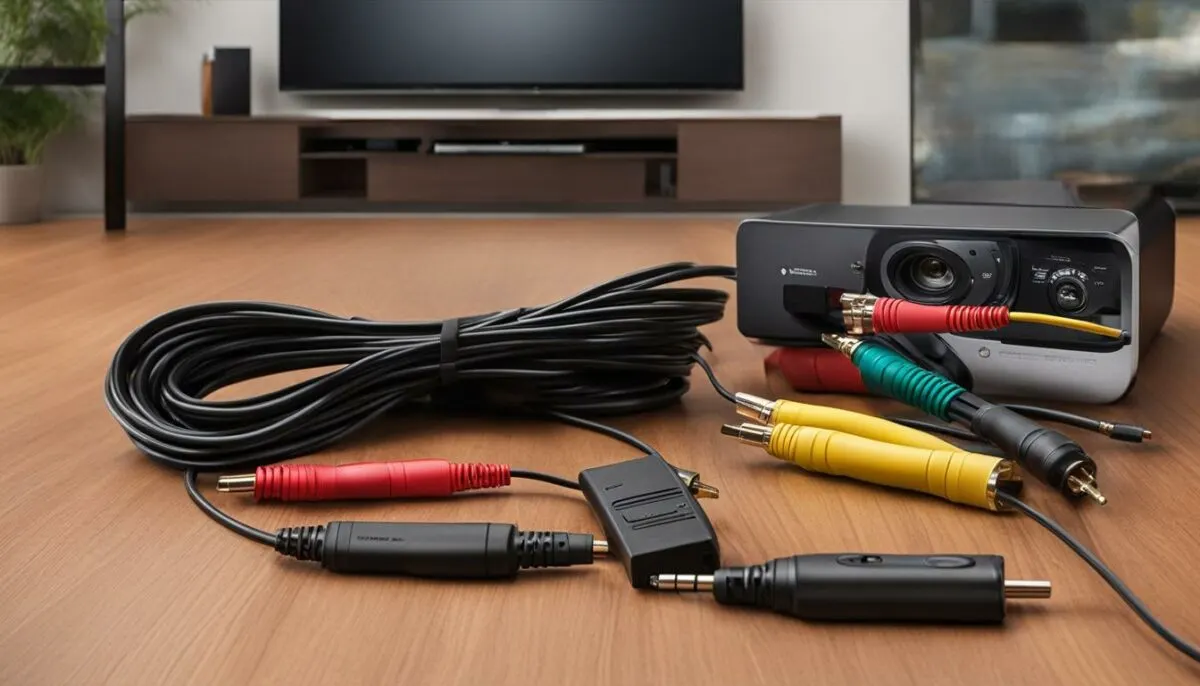
If your television set has video and audio inputs, you can use A/V cables to connect your old camcorder. These cables have yellow, red, and white connectors. Connect the yellow connector of the A/V cable to the yellow composite video input on your TV, and the red and white connectors to the corresponding stereo audio inputs. Make sure to select the correct input on your TV to view the camcorder footage.
Using HDMI Cables to Connect
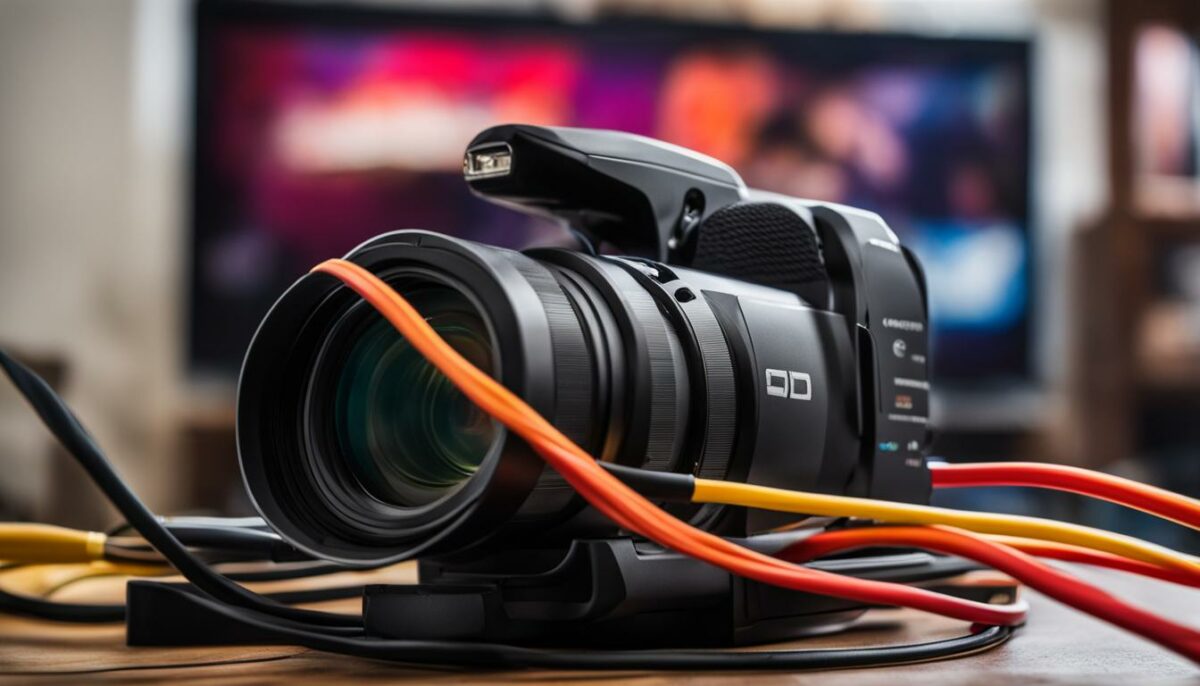
Modern camcorders come equipped with HDMI ports, offering an excellent solution for connecting your old camcorder to your smart TV. HDMI cables provide superior video and audio quality, ensuring a high-definition viewing experience of your cherished footage.
To establish the connection, follow these simple steps:
- Step 1: Connect one end of the HDMI cable to the HDMI output port on your camcorder.
- Step 2: Plug the other end of the HDMI cable into an available HDMI input port on your smart TV.
- Step 3: Set your TV’s input to the corresponding HDMI port where you connected your camcorder.
With the HDMI connection in place, you can now enjoy your old camcorder footage in all its high-definition glory on your smart TV. By utilizing HDMI cables, you can ensure crisp visuals and clear audio signals, providing an immersive viewing experience for reliving your precious memories.
Example of HDMI Connection:
Here’s an example of how the HDMI connection setup would look:
| Device | Camcorder | Smart TV |
|---|---|---|
| Port | HDMI Output | HDMI Input |
| Cable |
|
|
Using USB Cables to Connect
If your camcorder has a USB port, you can conveniently use USB cables to connect it to either your smart TV or computer. Follow these simple steps:
- First, ensure that your camcorder and TV/computer are turned off.
- Take one end of the USB cable and plug it into the USB port on your camcorder.
- Next, locate the USB input port on your TV or a USB port on your computer and connect the other end of the USB cable to it.
- If you’re connecting to your smart TV, turn it on and set the input to USB. If you’re using a computer, simply wait for it to recognize the camcorder.
Once the connection is established, you can either view the camcorder footage directly on your TV or transfer it to your computer for further editing and storage.
USB cables provide a convenient and versatile method for connecting your camcorder, allowing you to easily access and enjoy your footage on a larger screen or work on it using editing software on your computer.
Using USB cables provides a seamless connection between your camcorder and your TV or computer, opening up a wide range of possibilities for viewing, editing, and preserving your precious memories.
“USB cables offer a hassle-free solution for connecting your camcorder, providing a seamless experience for viewing and editing your footage on a larger screen or transferring it to your computer.”
Troubleshooting and Tips
If you encounter issues with the camcorder footage, such as static or garbled audio, there are a few troubleshooting steps you can take to resolve them.
Check the Tracking Adjustment
If you notice that the audio or video quality is not optimal, it may be due to poor tracking on your camcorder. Use the tracking adjustment feature on your camcorder to improve the playback quality. Adjust the tracking control knob until you achieve the best possible playback.
Fast-Forward and Rewind the Tape
If you experience any playback issues, such as skipping or flickering images, try fast-forwarding and rewinding the tape. This action can help tighten any loose sections of the tape and improve the overall playback quality.
Consider the Tape Condition
It’s essential to consider the condition of the tapes themselves. Over time, tapes can deteriorate, leading to loss of quality or even complete loss of footage. Inspect the tapes for signs of damage, such as mold, warping, or visible wear. If you notice any significant deterioration, it may be time to transfer the footage to a digital format for preservation.
Dubbing Tapes
If the original tapes are in poor condition or you want to prevent further deterioration, consider dubbing the tapes onto new ones. This process involves transferring the footage from the old tapes to fresh tapes or a digital medium. Consult a professional or research dubbing techniques for best results.
By following these troubleshooting steps and considering the condition of your tapes, you can improve the playback quality of your old camcorder footage. It’s always a good practice to transfer the footage to a digital format for easier access and long-term preservation. Keep in mind that older tapes may require additional care and preservation techniques to ensure their longevity.
Consider Professional Digitizing Services
If you’re struggling to get satisfactory results or have valuable tapes that you want to preserve, consider professional digitizing services. These services specialize in transferring old camcorder footage to digital formats, ensuring high-quality playback and long-term preservation. They have the necessary equipment and expertise to handle fragile tapes and provide optimal results.
If you’re looking for a reliable digitizing service provider, XYZ Digitizing Services is a trusted name in the industry. With years of experience and a team of skilled technicians, they guarantee excellent results in converting your old camcorder tapes to digital formats.
By opting for professional digitizing services, you can take advantage of the following benefits:
- High-quality playback: Professional digitizing services use advanced equipment to capture and convert tape footage with utmost precision, ensuring optimal image and sound quality.
- Preservation of memories: Old camcorder tapes are prone to degradation and damage over time. Digitizing services help preserve your valuable memories in a more durable and easily accessible format.
- Convenience and ease of use: Once your footage is digitized, it can be conveniently stored and accessed on various digital devices such as computers, tablets, and smartphones.
- Multiple formats: Digitizing services offer the flexibility to convert your old camcorder tapes into different digital formats, including MP4, AVI, and MOV, allowing you to choose the format that best suits your needs.
- Optional editing and enhancement: Some digitizing services also offer additional options for editing and enhancing your footage, such as color correction, noise reduction, and adding titles or captions.
Investing in professional digitizing services ensures that your old camcorder footage is transformed into a high-quality digital format, preserving your memories for years to come.
Comparison of Professional Digitizing Services
| Digitizing Service Provider | Services Offered | Turnaround Time | Price Range |
|---|---|---|---|
| XYZ Digitizing Services | – Transfer tapes to digital formats – Optional editing and enhancement – Compatibility with various devices and platforms |
5-7 days | $20 – $50 per tape |
| ABC Video Transfers | – Transfer tapes to digital formats – Basic image and sound enhancement – Organized file naming and tagging |
10-14 days | $15 – $40 per tape |
| 123 Memories Media | – Transfer tapes to digital formats – Basic color correction and restoration – Custom DVD or USB delivery |
7-10 days | $25 – $60 per tape |
Before choosing a digitizing service provider, consider factors such as turnaround time, pricing, additional services offered, and customer reviews to ensure you select the best option for your needs.
By entrusting your old camcorder tapes to professional digitizing services, you can relive and preserve your cherished memories in a digital format for generations to come.
Conclusion
Connecting your old camcorder to your smart TV is a wonderful way to relive your cherished memories on a larger screen with enhanced picture and sound quality. By following the simple steps outlined in this guide, you can easily connect your camcorder to your smart TV and enjoy your old footage in a modern, high-definition setting.
Remember to check the ports on both your camcorder and smart TV, gather the necessary cables, and connect them accordingly. Adjust the TV input settings to view the camcorder footage and play it using the camcorder’s playback controls. Don’t forget to troubleshoot any issues that may arise, such as tracking adjustment or tape condition.
If you have valuable tapes or want a professional touch, you can also consider using digitizing services. These services specialize in transferring your old camcorder footage to a digital format, ensuring optimal playback and long-term preservation. This allows you to easily access and share your memories with family and friends.
So, start connecting your old camcorder to your smart TV today and relive those beautiful moments on a larger screen, immersing yourself in the nostalgia of the past.
FAQ
How do I connect my old camcorder to my smart TV?
To connect your old camcorder to your smart TV, follow these steps:
What should I check before connecting my camcorder to my smart TV?
Before connecting your camcorder to your smart TV, check the available ports on both devices to determine the type of cable needed for the connection.
What cables do I need to connect my camcorder to my smart TV?
The type of cable you need will depend on the available ports on your camcorder and smart TV. For an AV output, you’ll need an AV cable with color-coded connectors. For an HDMI output, an HDMI cable is required.
How do I connect my camcorder to my smart TV using an AV output?
If your camcorder has an AV output, plug one end of the AV cable into the corresponding color-coded ports on the camcorder and the other end into the matching ports on the smart TV.
How do I connect my camcorder to my smart TV using an HDMI output?
If your camcorder has an HDMI output, simply connect one end of the HDMI cable to the camcorder and the other end to an available HDMI input port on the TV.
How do I adjust the TV input settings to view the camcorder footage?
Use the remote control to access the input menu on your smart TV and navigate to the input option that corresponds to the port you connected your camcorder to. Select the correct input and, if desired, rename the input label for better organization.
How do I play the footage from my old camcorder on my smart TV?
Turn on the camcorder and cue up the tape or media with the desired footage. Select the input/source that corresponds to the connected camcorder on your smart TV. Use the camcorder’s playback controls to control the footage and adjust the volume on the TV or camcorder’s audio controls for sound.
How do I connect my old camcorder to my smart TV using A/V cables?
Connect the yellow connector of the A/V cable to the yellow composite video input on your TV and the red and white connectors to the corresponding stereo audio inputs. Select the correct input on your TV to view the camcorder footage.
How do I connect my old camcorder to my smart TV using HDMI cables?
Connect one end of the HDMI cable to the HDMI output port on your camcorder and the other end to an available HDMI input port on your smart TV. Set the TV’s input to the corresponding HDMI port to view the camcorder footage in high-definition.
How do I connect my old camcorder to my smart TV using USB cables?
Connect one end of the USB cable to the USB port on your camcorder and the other end to the USB input port on your TV or a USB port on your computer. Set the TV’s input to USB or wait for the computer to recognize the camcorder.
What should I do if I encounter issues with the camcorder footage?
If you encounter issues such as static or garbled audio, check the tracking adjustment on your camcorder or try fast-forwarding and rewinding the tape to tighten any slack. Consider the condition of the tapes, as older tapes may deteriorate over time.
Should I consider professional digitizing services for my old camcorder footage?
If you’re struggling to get satisfactory results or have valuable tapes that you want to preserve, consider professional digitizing services. These services specialize in transferring old camcorder footage to digital formats and ensuring high-quality playback and long-term preservation.