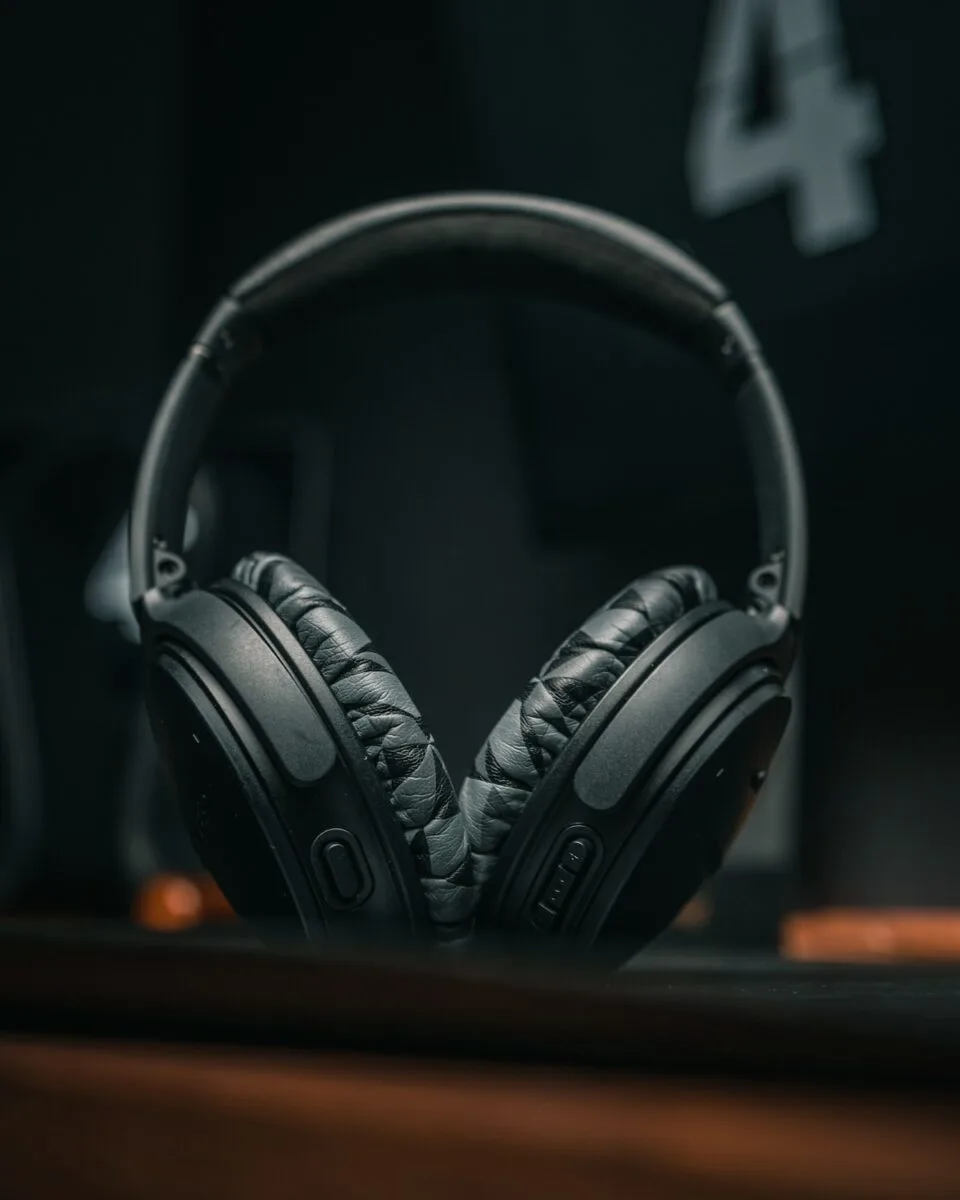
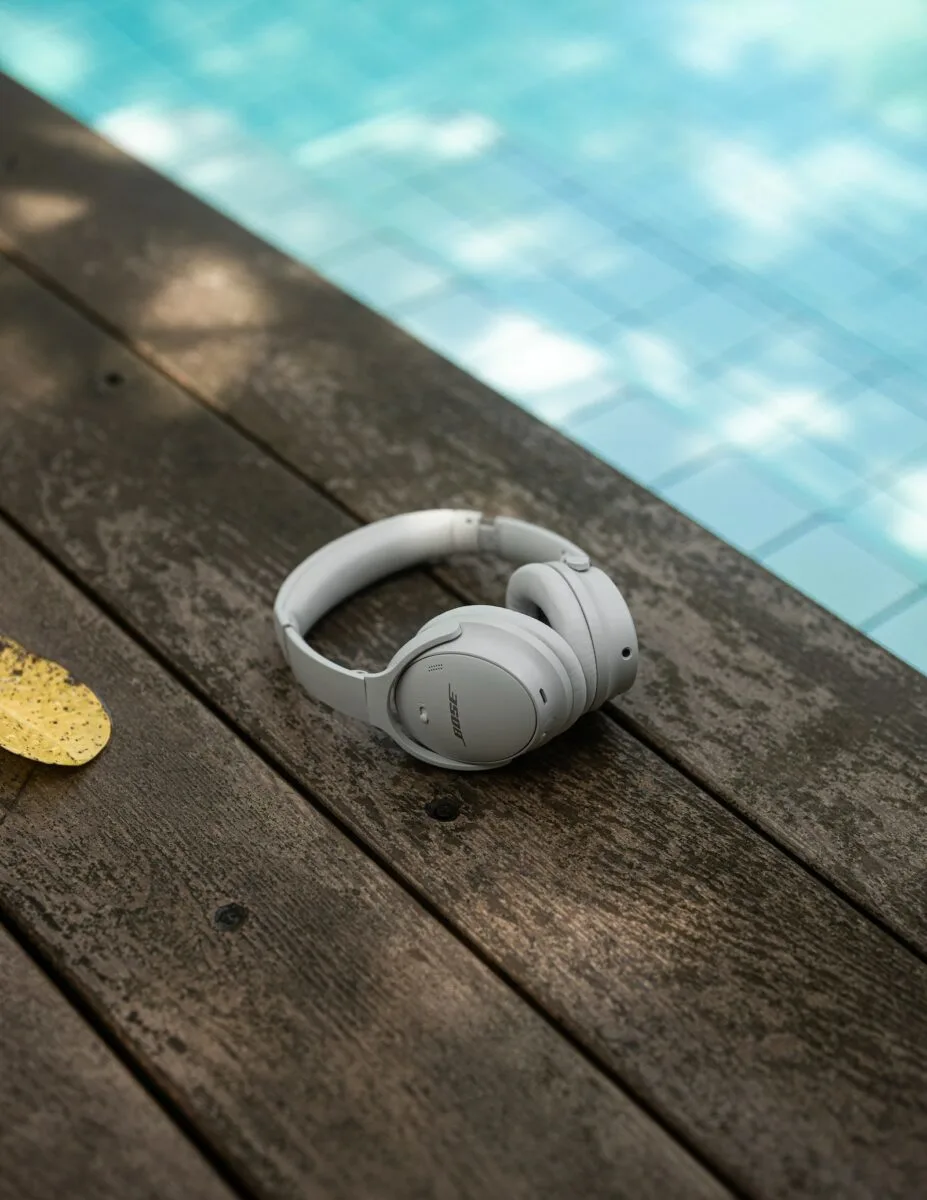
Welcome to our easy tutorial on how to clean Bose headphones, where we’ll show you how to keep your prized audio gear in top-notch condition. Whether you use your Bose headphones for immersive gaming sessions, intense workouts, or to enjoy your favorite tunes, they accumulate dirt, sweat, and grime over time. Regularly cleaning your headphones ensures they look pristine, guarantee optimal sound quality, and prolong their lifespan.
In this article, we’ll explore why cleaning your headphones is essential, explore the necessary tools, and provide an easy-to-follow, step-by-step cleaning process that will leave your Bose headphones looking and sounding as good as new. Let’s get started!
Reasons why you should clean your Bose headphones
Before starting up with the easy tutorial, you should know that this isn’t about keeping your headphones cute. There are some essential reasons why you should take care of your headphones.
Hygiene and Comfort
Regularly cleaning your Bose headphones is crucial for maintaining proper hygiene. These headphones often come into contact with our ears and skin, accumulating sweat, oil, and bacteria over time. Neglecting proper cleaning can lead to the buildup of germs and potentially cause skin irritation or even infections. Keeping your headphones clean ensures a more comfortable and pleasant listening experience.

Sound Quality
Bose headphones are renowned for their exceptional audio performance. However, dirt and debris can accumulate on the earpads and speaker grills, hindering sound quality. Dust or particles in the speakers can muffle sound and affect the bass response, leading to a less satisfying audio experience. Regular cleaning ensures unobstructed sound transmission and maintains the headphones’ ability to deliver crystal-clear audio.
Durability and Longevity
Cleaning your Bose headphones is essential for proper maintenance and longevity. Dust and debris can enter the internal components, causing premature wear and tear. Over time, this can lead to reduced performance, weakened structural integrity, and malfunctions. By keeping your headphones clean, you can extend their lifespan and get the most out of your investment.
Aesthetic Appeal
Bose headphones are not just about sound but also a fashion statement for many users. Well-maintained headphones look sleek and attractive, while dirty ones can be an eyesore. Cleaning the earpads, headbands, and other visible parts of the headphones ensures they remain visually appealing, making you feel proud to wear them in public.
Preventing Earwax Buildup
Earwax is a natural secretion that can accumulate on the earpads and in the earcup’s crevices. If left uncleaned, this buildup can become unsightly and unhygienic, and it may also affect the fit of the headphones over time. Regular cleaning prevents earwax accumulation, preserving the overall appearance and fit of the headphones.

Improved Performance during Calls
For Bose headphones equipped with microphones for phone calls or virtual meetings, cleanliness is even more critical. Dust or debris on the microphone can affect voice transmission, resulting in muffled or unclear communication. Cleaning the microphone ensures you can enjoy crisp conversations without disruptions. Bonus: Here’s how to connect your Bose headphones to your Mac or PC.
Tips before cleaning your Bose headphones
Before proceeding with the step-by-step cleaning process of your Bose headphones, it’s essential to keep these tips in mind for a safe and effective cleaning experience:
Choose the Right Cleaning Agent: Opt for a specialized cleaning solution for electronics or headphones. Avoid using harsh chemicals or household cleaners, as they may damage the delicate components of your headphones.
Avoid Water Contact: Never immerse your headphones in water or directly apply liquids. Water can seep into the internal components, causing irreversible damage. Instead, use a dampened soft cloth to clean the external surfaces gently.
Practice Gentle Cleaning: Handle your headphones carefully and avoid applying excessive force while cleaning. Delicate components like speaker grills and earpads can easily get damaged with rough handling.
Disconnect and Power Off: Before cleaning, always disconnect your headphones from any audio source and power them off. This prevents any accidental damage to the device or any potential electrical hazards.
Remove Earpads if Possible: Remove your headphones with removable Earpads before cleaning. This action lets you thoroughly clean the earpads and the headphones’ main body.
Patience is Key: Take time cleaning and be patient with stubborn stains or grime. Rushing the process may lead to accidental damage.
Use Microfiber Soft Cloth: Microfiber cloths are ideal for cleaning delicate surfaces without scratching or leaving lint. They are gentle and effective for removing dirt and fingerprints from your headphones.
Utilize Rubbing Alcohol Wisely: If your headphones require a deeper clean, moisten a soft cloth with rubbing alcohol. However, never pour alcohol directly onto the headphones, as it can damage the finish.
Q-tips and Small Brushes: For hard-to-reach areas, use cotton swabs (Q-tips) and small brushes. These tools allow you to precisely clean intricate parts like crevices, hinges, and buttons.
Let Them Dry Thoroughly: After cleaning, ensure your headphones are completely dry before using or storing them. Moisture left on the headphones can lead to malfunctions or, in extreme cases, mold growth.

How to clean Bose headphones. Step-by-step tutorial
Step 1. Start with the obvious
Before diving into the cleaning process, closely examine your Bose headphones to assess the extent of dirt accumulation. This evaluation will help you determine the appropriate cleaning approach and safeguard your device.
Once you’ve gauged the impact, proceed with the general cleaning. For this step, you’ll need a soft cloth dampened with water and mild soap.
- Gently clean the plastic parts, connectors, and headband, using moderate water absorption to prevent water from reaching internal components.
- For the ear tip cushions and outer mesh surface of the ear cups, use wet wipes exclusively and refrain from immersing them in any other solution.
- After cleaning with a damp cloth and soap, quickly follow up with a soft dry cloth to ensure all parts are thoroughly dry and free from water damage.
- A soft dry cloth can suffice without using water in cases of less dust accumulation.
Individual treatment for specific cases is essential, avoiding overly mechanical cleaning approaches.
Step 2. Now, clean thoroughly
In this crucial step, we’ll guide you through cleaning various parts of your Bose headphones.
Clean the Ear Wax:
Carefully remove the ear tips and clean them with mild soapy water—avoid using additional detergents, as they may affect the ear tips’ quality.
Rinse the ear tips and dry them thoroughly with a towel or soft cloth before reassembling them.
Clean the Silicone Coatings:
Remove the silicone coatings in the ear tips easily for cleaning. Soak them in warm soapy water to soften them, making it easier to remove debris using cotton swabs.
Afterward, rinse with cool water and dry completely with a soft cloth or paper before reassembling the ear pads.
Clean the Mesh Surface:
Mild hydrogen peroxide (concentration not exceeding 3%) is the ideal cleaning agent for this step.
Dampen a soft cloth with hydrogen peroxide and gently clean the mesh surface. Alternatively, you can use a toothbrush for this purpose.
Follow up with another soft, dry cloth to ensure the mesh is clean and dry, as any moisture can significantly impact sound quality.

Step 3. Let’s check them
After completing the cleaning process, double-check your ear tips’ cleanliness and reassemble all components. Once everything is back in place, conduct a sound test by playing music.
If the sound quality is not up to par or worsens, don’t panic; take time to reassess.
If you can’t identify the issue causing the sound degradation, consider seeking assistance from reputable repair facilities, where experts can offer suitable solutions.
Cleaning Bose Headphones. Final Words
Remember, headphones are delicate electronic devices, so handle them with care, and your dedication will reward you with valuable and enriching audio experiences. In conclusion, maintaining clean and well-cared-for Bose headphones is essential for several reasons. Regular cleaning ensures hygiene and comfort, preserves sound quality, extends the headphones’ lifespan, and enhances their aesthetic appeal. Following the step-by-step cleaning guide and adhering to the provided tips, users can enjoy a rewarding and meaningful audio experience, making the most of their cherished audio gear. Remember, a little care goes a long way in keeping your Bose headphones in optimal condition for years.