The Voice Memos app on iPhone allows you to easily record personal notes, lectures, and musical ideas. But where do these voice notes save on your iPhone? Don’t worry, we’ve got you covered! In this quick guide, we will show you the storage location of voice notes on iPhone and how to find your saved recordings.
Key Takeaways:
- Voice notes on iPhone are saved in the Voice Memos app, which comes pre-installed on your device.
- To access your voice notes, simply open the Voice Memos app and select the recording you want to listen to.
- If Location Services is enabled, your voice notes may be labeled with the name of your location.
- You can sync your voice notes with iCloud to access them on multiple Apple devices.
- For troubleshooting voice notes issues, ensure you have enough storage space and update your iOS software.
How to Use the Voice Memos App on iPhone

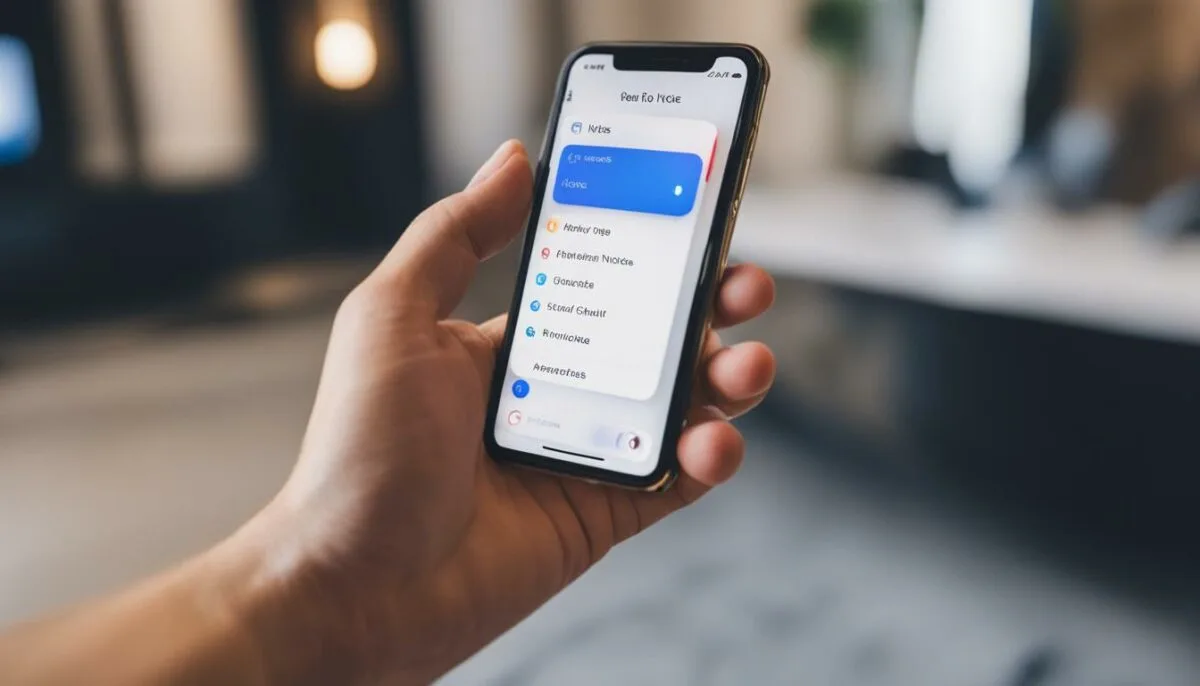
The Voice Memos app on iPhone is a powerful tool for recording and managing voice notes. Whether you need to capture personal memos, important lectures, or creative musical ideas, this app has got you covered. In this section, we’ll guide you through the process of using the Voice Memos app on your iPhone, from recording voice notes to adjusting the recording level and editing your recordings.
Recording Voice Notes
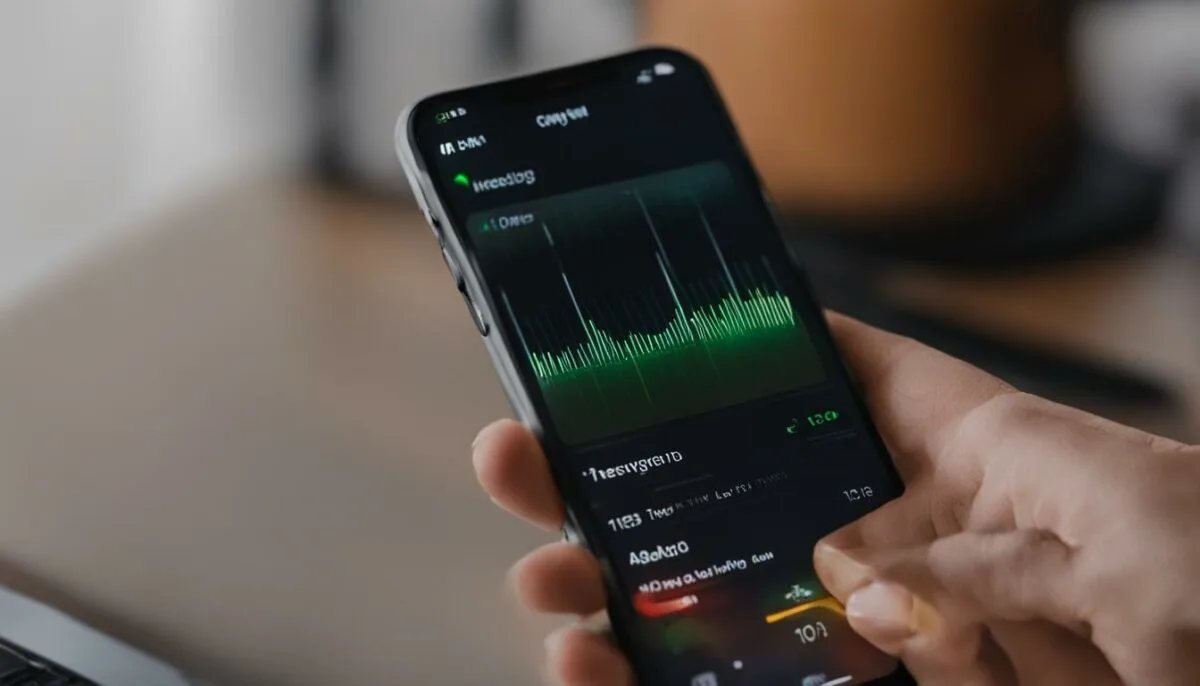
To start recording a voice note, simply open the Voice Memos app on your iPhone. You’ll see a red circle button at the bottom of the screen – tap on it to begin recording. The app will start capturing the audio from your device’s microphone.
If you want to adjust the recording level, you can do so by moving the microphone closer or farther away from the sound source. This allows you to optimize the audio quality and ensure clear and balanced recordings.
When you’re ready to stop recording, tap the square button located next to the record button. The app will automatically save the recording and make it available for further editing and management.
Editing Voice Recordings
The Voice Memos app provides several editing tools to help you fine-tune your voice recordings. After capturing a voice note, you can give it a specific name, making it easier to identify and organize.
If you need to trim or replace parts of a recording, the app allows you to do so with precision. Simply select the recording you want to edit, tap on the “Edit” option, and make the necessary adjustments.
You can also record voice notes in parts by pausing and resuming as needed. This is particularly useful when you want to break down a longer recording into smaller segments for better organization and accessibility.
With these powerful recording and editing features, the Voice Memos app on your iPhone enables you to capture and create high-quality voice notes effortlessly.
Saving and Accessing Voice Notes on iPhone

Once you finish recording a voice note on your iPhone, the Voice Memos app automatically saves it for you. The recording is labeled as “New Recording” or named after your location if Location Services is enabled on your device. To access your saved voice notes, follow these simple steps:
- Open the Voice Memos app on your iPhone.
- Select the recording you want to listen to from the list.
- Tap on the recording to open it.
Once you’re in the recording, you have a variety of options available to you. You can play the recording by tapping the play button, rename it to something more descriptive, add it to a folder for better organization, or share it with others. The Voice Memos app provides a user-friendly interface, making it easy for you to manage and access your voice notes.
Example Voice Notes Organization:
| Folder Name | Number of Voice Notes |
|---|---|
| Personal | 17 |
| Work | 8 |
| Music Ideas | 5 |
“The Voice Memos app on iPhone allows you to save and access your voice notes effortlessly. With just a few taps, you can revisit important recordings or share them with others. It’s a convenient tool for capturing ideas, reminders, interviews, and more.”
Syncing Voice Notes with iCloud

The Voice Memos app on iPhone offers a seamless way to sync your recordings with iCloud. By enabling this feature, you can ensure that your voice notes are up to date and accessible across all your Apple devices. Whether you use an iPhone, iPad, or Mac, as long as you’re signed in with the same Apple ID, you’ll have instant access to your voice memos.
With iCloud sync for voice memos, you no longer have to worry about manually transferring recordings or connecting devices to transfer files. Your voice notes will automatically be uploaded to iCloud, allowing you to access and play them from any of your devices.
Syncing your voice notes with iCloud provides the convenience of seamlessly moving between devices without missing a beat. For example, if you record a voice memo on your iPhone during a brainstorming session and want to continue working on your iPad, you can easily access the same recording and pick up where you left off.
Accessing Voice Notes on Multiple Devices
Once you’ve synced your voice notes with iCloud, accessing them on multiple devices is a breeze. Simply sign in to your Apple ID on your iPhone, iPad, or Mac, and follow these steps:
- Open the Voice Memos app on the device you’d like to access your voice notes on.
- Navigate to the “Recordings” tab to view your saved voice memos.
- Tap on the recording you wish to listen to, and it will start playing.
By syncing your voice notes with iCloud, you can seamlessly transition between devices and access your recordings whenever and wherever you need them. Whether you’re brainstorming ideas, capturing important information, or simply recording your thoughts, iCloud sync ensures that your voice memos are available at your fingertips.
| Benefits of Syncing Voice Notes with iCloud | How it Works |
|---|---|
|
|
Using Messages App for Audio Messages

In addition to the Voice Memos app, you can also use the Messages app on iPhone to record and send audio messages. This feature allows for quick and convenient communication with friends, family, or colleagues. Whether you want to share a voice note, voice memo, or simply send an audio message, the Messages app provides the necessary tools.
Recording Audio Messages
To record an audio message, open the Messages app on your iPhone. Start a new message or open an existing conversation where you want to send the audio message. In the message input field, you will find an audio icon. Tap on this icon to begin recording your audio message.
Sending and Saving Audio Messages
After you have finished recording your audio message, you have the option to send it immediately or save it for later. To send the audio message, simply tap on the send button. If you want to save the audio message before sending, tap on the “Keep” option. This will save the audio message to your device for future use.
Listening and Replying to Audio Messages
With the Messages app, you can not only send audio messages but also listen and reply to the ones you receive. When you receive an audio message, simply tap on it to listen. If you want to reply with an audio message, tap on the microphone icon in the message input field and start recording your reply.
Using the Messages app for audio messages provides a convenient way to communicate using your voice. Whether you want to capture a spontaneous thought, share an important message, or send a heartfelt greeting, audio messages add a personal touch to your conversations.
Managing Voice Notes Settings

When it comes to managing voice notes settings on your iPhone, you have the flexibility to customize your preferences according to your needs. By accessing the Settings app and selecting either Messages or Voice Memos, you can adjust various settings to enhance your voice recording and messaging experience.
Adjusting Audio Message Expiration in Messages
If you frequently send audio messages using the Messages app on your iPhone, you can modify the expiration time for these messages. Open the Settings app, scroll down, and tap on Messages. From there, navigate to the Audio Messages section. Here, you can adjust the expiration time to suit your requirements. You can choose to have audio messages expire after 2 minutes, after 1 minute, or have them remain indefinitely. This allows you to personalize the duration for which your audio messages are accessible to the recipient.
Changing Voice Notes Settings in Voice Memos
In the Voice Memos settings, you can fine-tune various aspects of your voice notes recordings. To access these settings, go to the Settings app, scroll down, and tap on Voice Memos. Within the Voice Memos settings, you’ll find options to enable or disable iCloud sync, which ensures that your recordings are backed up and accessible across multiple devices. Additionally, you can toggle the location-based naming feature, allowing your voice notes to be automatically labeled with your current location.
Furthermore, the Voice Memos settings provide you with control over the microphone settings. You can adjust the microphone gain, which determines the sensitivity of the microphone during recording. This allows you to optimize the audio quality based on your specific recording environment.
By having the ability to manage voice notes settings on your iPhone, you can tailor the recording and messaging experience to your liking. Whether it’s adjusting the expiration time for audio messages or customizing microphone settings, these options give you the flexibility to personalize your voice notes usage.
| Setting | Description |
|---|---|
| iCloud Sync | Enables or disables the synchronization of voice notes across devices using iCloud. |
| Location-Based Naming | Automatically labels voice notes with your current location for easy organization. |
| Microphone Settings | Allows you to adjust the microphone gain for optimal audio recording quality. |
Tips and Tricks for Voice Notes on iPhone

When it comes to maximizing the usage of voice memos on your iPhone and enhancing your recording experience, there are several tips and tricks worth knowing. These techniques can help you make the most of your voice notes and take your recordings to the next level.
Muting Start and Stop Tones
Did you know that you can mute the start and stop tones when recording voice notes on your iPhone? By simply turning down the volume, you can discreetly start and stop your recordings without any audible cues. This can be particularly useful in situations where you want to capture audio discreetly or avoid any interruptions.
Using Other Apps While Recording
If you need to multitask while recording voice notes, you’ll be happy to know that you can use other apps on your iPhone without interrupting the recording process. As long as the other apps you’re using don’t play audio, you can seamlessly switch between them and the Voice Memos app. This allows you to take notes, browse the web, or perform other tasks while capturing your voice memos.
Dynamic Island Display
On newer iPhone models, you can see the progress of your voice recording directly on the Dynamic Island at the top of your Home Screen. This feature provides a visual representation of your ongoing recording, allowing you to keep track of the duration and easily access the recording controls. You can expand the Dynamic Island and stop the recording without having to return to the Voice Memos app.
Recording in Stereo with External Microphones
If you want to enhance the quality of your voice recordings and capture a richer sound, consider using external stereo microphones with your iPhone. These microphones can provide improved audio clarity and depth, making your voice notes sound more professional. Simply connect the external microphone to your iPhone’s headphone jack or Lightning port, and you’ll be able to record in stereo for a more immersive listening experience.
By implementing these tips and tricks, you can take full advantage of the voice recording capabilities on your iPhone. From muting start and stop tones to using other apps while recording, these techniques can help you maximize your voice memos usage and enhance the quality of your recordings.
Troubleshooting Voice Notes Issues
If you encounter any issues with voice notes on your iPhone, such as recordings not saving or the Voice Memos app not working properly, there are a few troubleshooting steps you can try:
- Check your device’s storage space: Ensure that you have enough storage space available on your iPhone for the voice notes to save properly. Deleting unnecessary files or apps can help free up storage.
- Restart your iPhone: Sometimes, a simple restart can resolve minor software glitches. Press and hold the power button until the “Slide to power off” slider appears, then slide it to power off your iPhone. Once it is off, press and hold the power button again until the Apple logo appears to turn it back on.
- Update your iOS software: Keeping your iPhone’s operating system up to date can fix bugs and improve app performance. Go to Settings, tap General, then select Software Update to check for any available updates.
- Delete and reinstall the Voice Memos app: If the problem persists, you can try deleting the Voice Memos app and reinstalling it from the App Store. Be aware that deleting the app will also remove any unsaved recordings, so make sure to back them up or sync them with iCloud beforehand.
- Contact Apple Support: If none of the above steps resolve the issue, it is recommended to reach out to Apple Support for further assistance. They can provide specific troubleshooting guidance based on your device and software.
By following these troubleshooting steps, you can overcome common voice notes issues on your iPhone and ensure that the Voice Memos app functions smoothly.
Conclusion
The Voice Memos app on iPhone provides a seamless and user-friendly experience for recording and managing voice notes. With its intuitive interface, you can easily capture personal thoughts, important lectures, or creative musical ideas with just a few taps. The app automatically saves your recordings, making them easily accessible whenever you need them.
One of the standout features of the Voice Memos app is its ability to sync recordings with iCloud. By enabling iCloud sync, you can conveniently access your voice notes on multiple devices, including iPhone, iPad, and Mac. This ensures that your recordings are always available at your fingertips, no matter which device you’re using.
Additionally, the Messages app on iPhone offers an alternative way to record and send audio messages. With just a few taps, you can capture your voice and share it with friends, family, or colleagues. Whether it’s a quick message or a detailed explanation, the Messages app provides a convenient platform for recording and sharing your voice notes.
By exploring the various features and settings of the Voice Memos app, you can maximize your usage and enhance your recording experience. Take advantage of options like adjusting the recording level, renaming your recordings, and using editing tools to fine-tune your voice notes. You can also customize settings such as enabling iCloud sync, location-based naming, and microphone preferences to suit your preferences.
In conclusion, voice notes on iPhone offer a versatile and efficient way to capture, save, and manage your recordings. Whether it’s for personal, educational, or professional purposes, the Voice Memos app provides a reliable and accessible platform for all your voice note needs.
FAQ
Where do voice notes save on iPhone?
Voice notes are saved automatically in the Voice Memos app on your iPhone.
How do I access my saved voice notes on iPhone?
To access your saved voice notes, open the Voice Memos app and select the recording you want to listen to.
Can I sync my voice notes with iCloud?
Yes, the Voice Memos app on iPhone allows you to sync your recordings with iCloud, making them available on multiple devices.
How do I use the Voice Memos app on iPhone?
Simply open the Voice Memos app, tap the red button to start recording, and tap the square button to stop recording.
How do I save voice notes on iPhone?
Your voice notes are saved automatically when you finish recording in the Voice Memos app.
Can I record and send audio messages on iPhone?
Yes, you can use the Messages app on iPhone to record and send audio messages.
How do I manage the settings for voice notes on iPhone?
You can manage the settings for voice notes by going to the Settings app and selecting Messages or Voice Memos.
Are there any tips and tricks for using voice notes on iPhone?
Yes, there are various tips and tricks you can use to maximize your usage of voice notes on iPhone.
What should I do if I encounter issues with voice notes on iPhone?
If you encounter any issues, try troubleshooting steps such as restarting your iPhone or updating the iOS software.