Are you looking to upgrade your car audio system and enhance its power and performance? Wiring multiple batteries is a popular solution that can help you achieve your audio goals. In this comprehensive guide, we will take you through the step-by-step process of wiring multiple batteries for your car audio system. We’ll cover everything from the benefits of this setup to choosing the right batteries and implementing proper wiring techniques.
Key Takeaways:
- Wiring multiple batteries can enhance the power and performance of your car audio system.
- Selecting the appropriate batteries for your setup is crucial for optimal performance.
- Proper wiring techniques, such as battery isolator setups, can prevent battery drain and increase overall efficiency.
- Maintaining your battery setup is essential for longevity and optimal performance.
- Testing and troubleshooting your battery setup can help identify and resolve issues before they become bigger problems.
Why Wire Multiple Batteries for Car Audio?
When it comes to powering your car audio system, a single battery may not be sufficient to meet your needs. This is where wiring multiple batteries can come in handy. A well-configured car audio battery setup can provide you with significant benefits, including:
- Increased power output: With multiple batteries, you can achieve higher voltage and current levels, which can improve the overall performance of your car audio system.
- Improved audio quality: Wiring multiple batteries can reduce the chances of voltage drops, ensuring that your audio system receives a steady and reliable power supply. This can enhance the sound quality of your speakers and subwoofers.
- Enhanced battery life: By distributing the power demand across multiple batteries, you can extend the lifespan of your car audio battery setup. This is because each battery will have to work less hard to power your system, reducing the risk of premature failure.
Overall, wiring multiple batteries for your car audio can provide you with greater power and reliability, ensuring that you can enjoy a more immersive and dynamic audio experience. However, it’s important to understand the different battery configurations and installation procedures to ensure a safe and efficient setup. In the following sections, we will guide you through the process of wiring multiple batteries for your car audio, from choosing the right batteries to testing and troubleshooting your setup.
Understanding Series and Parallel Battery Wiring

When wiring multiple batteries for your car audio system, you need to understand the two basic configurations: series and parallel wiring. Both of these wiring methods will affect the overall performance and power distribution of your car audio system.
Series Battery Wiring
Wiring batteries in series involves connecting the positive terminal of one battery to the negative terminal of the next battery. This is done until all batteries are connected, forming a single circuit. In series wiring, the voltage of the batteries is combined, but the capacity, or amount of charge they hold, remains the same.
The total voltage output of the batteries connected in series is the sum of the individual battery voltages. For example, if you wire two 12-volt batteries in series, the total voltage output would be 24 volts. This can be useful for car audio systems that require a higher voltage input for optimal performance.
Parallel Battery Wiring
Wiring batteries in parallel involves connecting all the positive terminals of the batteries together and all the negative terminals together. In parallel wiring, the voltage remains the same, but the capacity is combined.
The total capacity of the batteries connected in parallel is the sum of the individual battery capacities. For example, if you wire three 12-volt batteries in parallel, the total capacity would be 36 volts.
It’s important to note that wiring batteries in parallel can lead to potential issues such as uneven charging and discharging of the batteries. It’s recommended to use batteries with the same capacity and age when wiring in parallel, and implement a battery isolator setup to prevent one battery from draining the other.
Understanding series and parallel battery wiring is crucial for creating a reliable and effective battery setup for your car audio system. Whether you choose to wire batteries in series, parallel, or a combination of both, ensure that you follow the correct steps and precautions to ensure a safe and efficient setup.
Choosing the Right Batteries
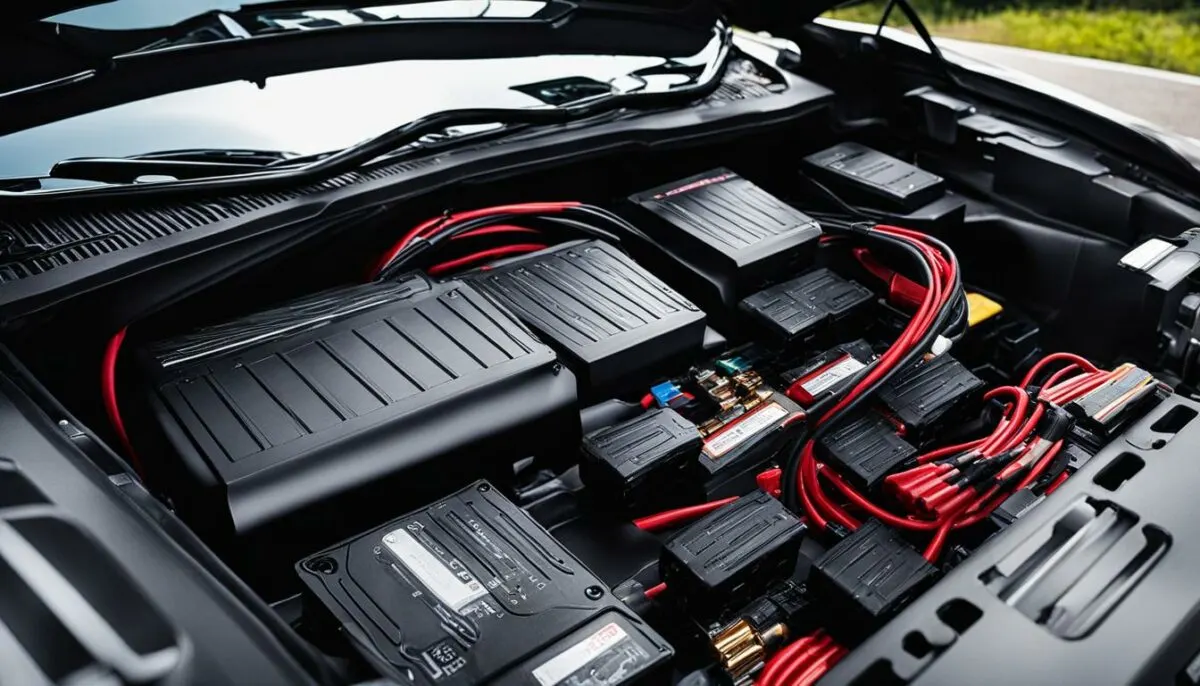
When it comes to selecting the appropriate batteries for your car audio setup, there are several factors to consider. The right batteries will not only provide reliable power but also ensure longevity for your overall system.
Capacity
One of the primary considerations when choosing car audio batteries is the capacity. The capacity is the amount of energy the battery can store, represented in ampere-hours (Ah). A higher capacity battery can provide power for a more extended period and handle more significant power loads than a lower capacity battery.
When selecting batteries, it’s essential to assess the power requirements of your car audio system. You can calculate the required capacity by adding up the power consumption of all components in the system and multiplying it by the desired runtime. For example, if your system has a total power consumption of 1000W and you want it to run for three hours, you’ll need a battery with a capacity of at least 3000Wh or 3Ah.
Brand Reputation
Choosing high-quality batteries from reputable brands is crucial for the overall health of your car audio system. Quality batteries are less likely to suffer from internal defects, malfunctions, or premature failures, which can damage the system or cause safety hazards.
When selecting batteries, do some research and read customer reviews to determine which brands are reliable and suitable for your specific needs.
Compatibility with Your Vehicle’s Electrical System
Before purchasing batteries, consider compatibility with your vehicle’s electrical system. Different types of batteries and brands may have varying voltage outputs, discharge rates, and physical dimensions that may not be compatible with your car’s alternator, charging system, or battery compartments.
Consult your car’s owner manual or a qualified technician to determine the appropriate battery specifications and configurations that will work with your vehicle’s electrical system.
“Choosing high-quality batteries from reputable brands is crucial for the overall health of your car audio system.”
Battery Isolator Setup
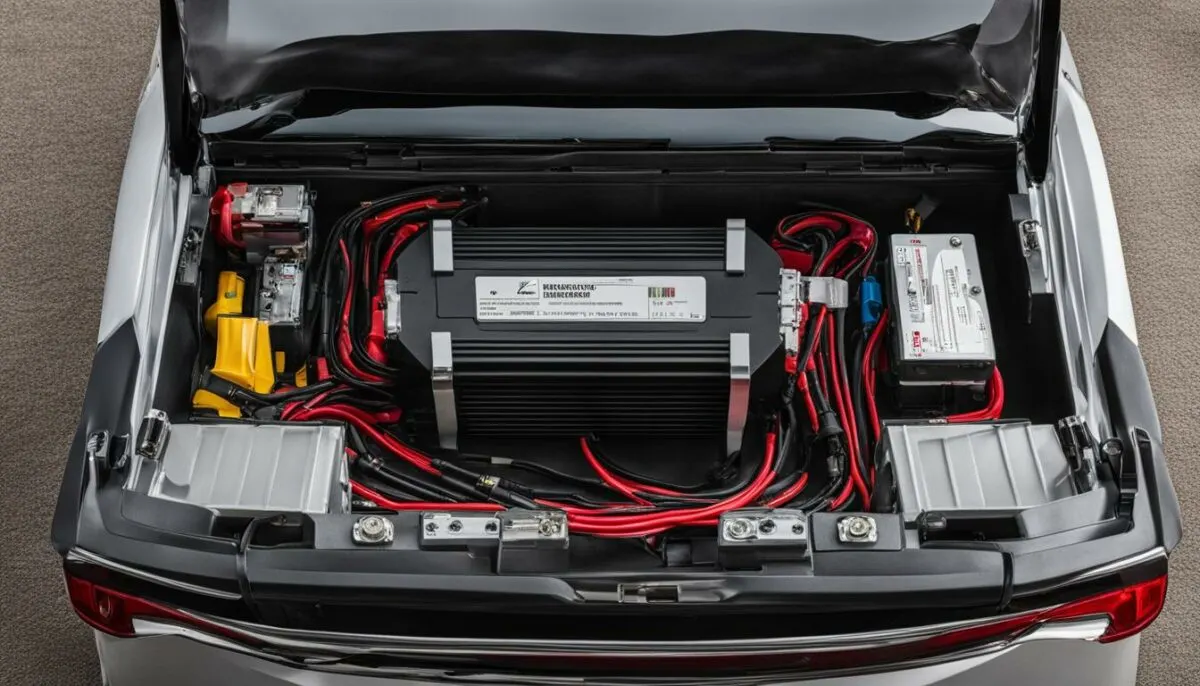
One crucial element for wiring multiple batteries in a car audio system is implementing a battery isolator setup. This ensures that each battery is isolated and prevents one battery from draining the other. The battery isolator is a device that allows the batteries to charge independently and only draws power from them when the engine is running.
The most common types of battery isolators are diode-based and relay-based. Diode-based isolators are less expensive but have a voltage drop of about 0.7 volts. Relay-based isolators, on the other hand, have no voltage drop but are more expensive.
When selecting a battery isolator for your setup, ensure that it is rated for the amperage your car’s alternator can output. A higher rating ensures that the isolator can handle the power supplied by the alternator, preventing any damages caused by overheating.
Battery Isolator Setup Installation Guide
Here is a step-by-step guide on how to install a battery isolator in your car audio system:
- Disconnect the negative cable from your car’s battery.
- Mount the battery isolator in a suitable location, preferably close to the battery.
- Connect the positive cable from the alternator to the battery isolator’s “BAT” terminal.
- Connect the positive cables from the batteries to the battery isolator’s “AUX” terminals.
- Connect the negative cables from the batteries to the car’s chassis or a common ground point.
- Reconnect the negative cable to the car’s battery.
- Start the engine and check the battery isolator’s functionality.
Consult the manufacturer’s instructions for specific details related to your battery isolator model.
Now that you have installed a battery isolator in your car audio system, you can be sure that each battery is functioning optimally and is isolated from each other. This setup is crucial for your battery’s lifespan, ensuring a reliable power supply for your car audio system.
Wiring Multiple Batteries in Parallel
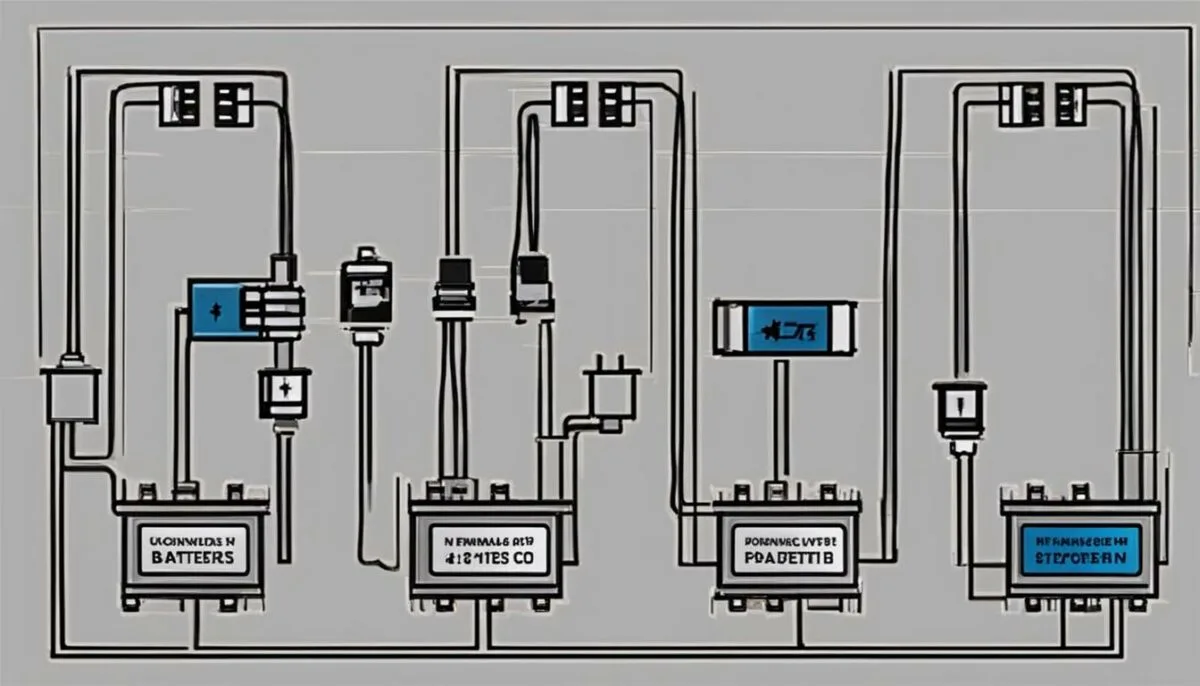
Wiring car audio batteries in parallel is a popular method for increasing the overall capacity of your system. By connecting multiple batteries positive to positive and negative to negative, you can double or triple the total amp-hour rating of your battery bank, providing more power and longer run times for your audio setup.
Before starting the wiring process, it’s important to choose the right batteries that are compatible with your audio system and vehicle’s electrical system. Make sure the batteries have the same voltage rating, capacity, and amp-hour rating to avoid imbalances that can damage the batteries or cause voltage drops.
To wire multiple batteries in parallel, follow these step-by-step instructions:
- Disconnect the negative cable from the first battery.
- Connect the positive terminal of the first battery to the positive terminal of the second battery.
- Connect the negative terminal of the first battery to the negative terminal of the second battery.
- Repeat the process for additional batteries, connecting each positive terminal to the previous battery’s positive terminal and each negative terminal to the previous battery’s negative terminal.
- Reconnect the negative cable to the last battery in the chain.
When wiring batteries in parallel, it’s important to take necessary precautions to ensure a safe and efficient setup. Make sure all connections are clean and tight, and use proper wire size and fuses to prevent overheating or short circuits.
Note: Wiring batteries in parallel increases the overall capacity of your battery bank, but does not increase the voltage output. If you need to increase the voltage output of your system, you may consider wiring batteries in series, which we will cover in the next section.
Wiring Multiple Batteries in Series
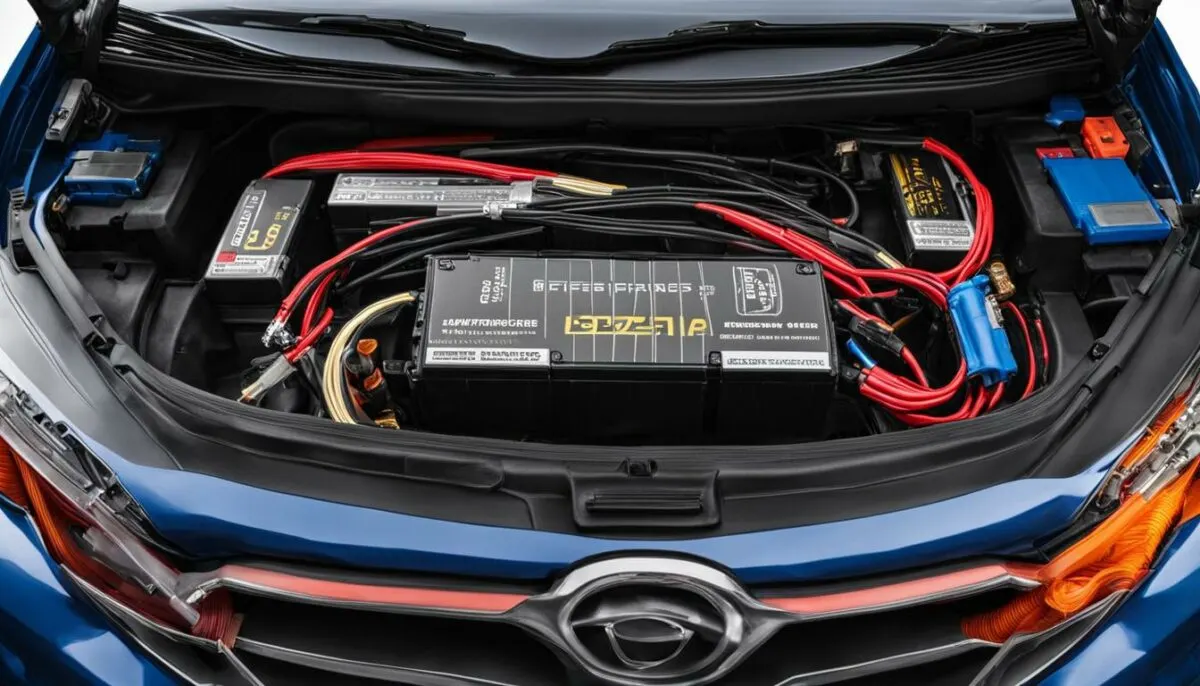
Wiring batteries in series is a common method to increase the voltage output of your car audio system. This setup involves connecting the positive terminal of one battery to the negative terminal of another, with the remaining positive and negative terminals connected to your audio setup. The total voltage output is the sum of the individual battery voltages.
It’s essential to ensure that all batteries have the same capacity and voltage rating to prevent imbalances and potential damage to your system. Below is a table illustrating a series battery wiring configuration:
| Battery | Voltage (V) | Capacity (Ah) |
|---|---|---|
| Battery 1 | 12V | 50Ah |
| Battery 2 | 12V | 50Ah |
| Total | 24V | 50Ah |
As shown in the table, connecting two identical 12V batteries in series results in a 24V output with the same total capacity (50Ah). It’s crucial to take safety precautions when connecting batteries in series, as the increased voltage may pose a risk of electrical shock or damage to your equipment.
Tip: When wiring batteries in series, use a voltmeter to measure the voltage output at each step of the process to ensure proper connections and voltage distribution.
Battery Wiring Diagrams
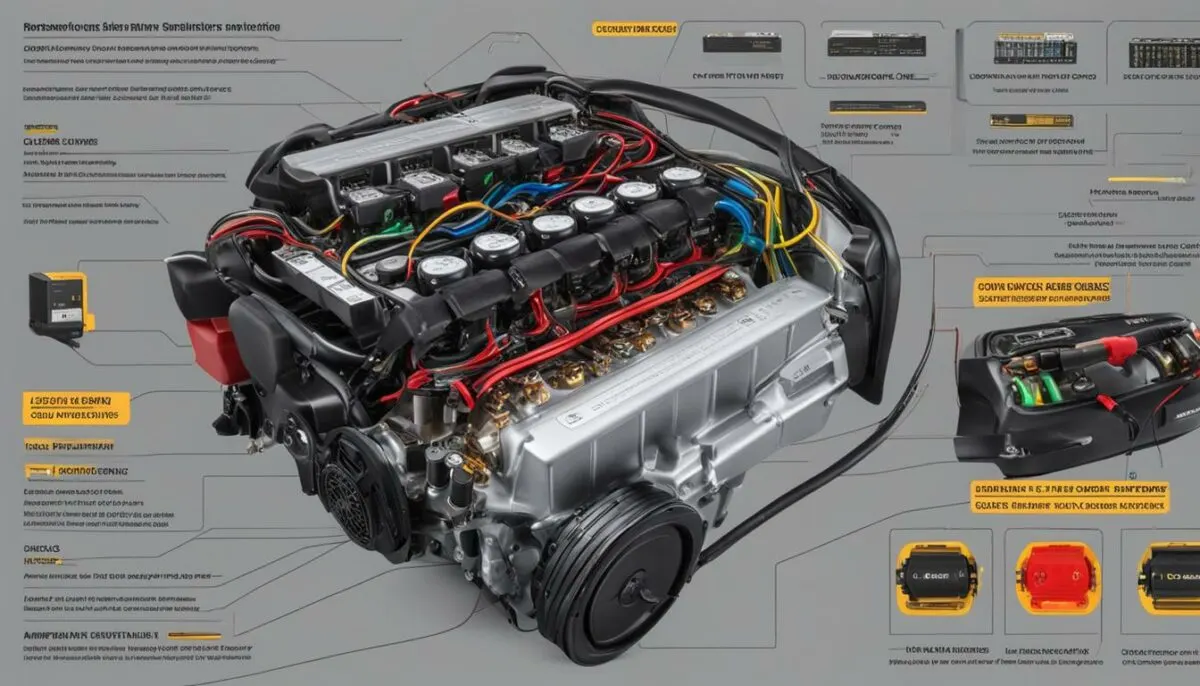
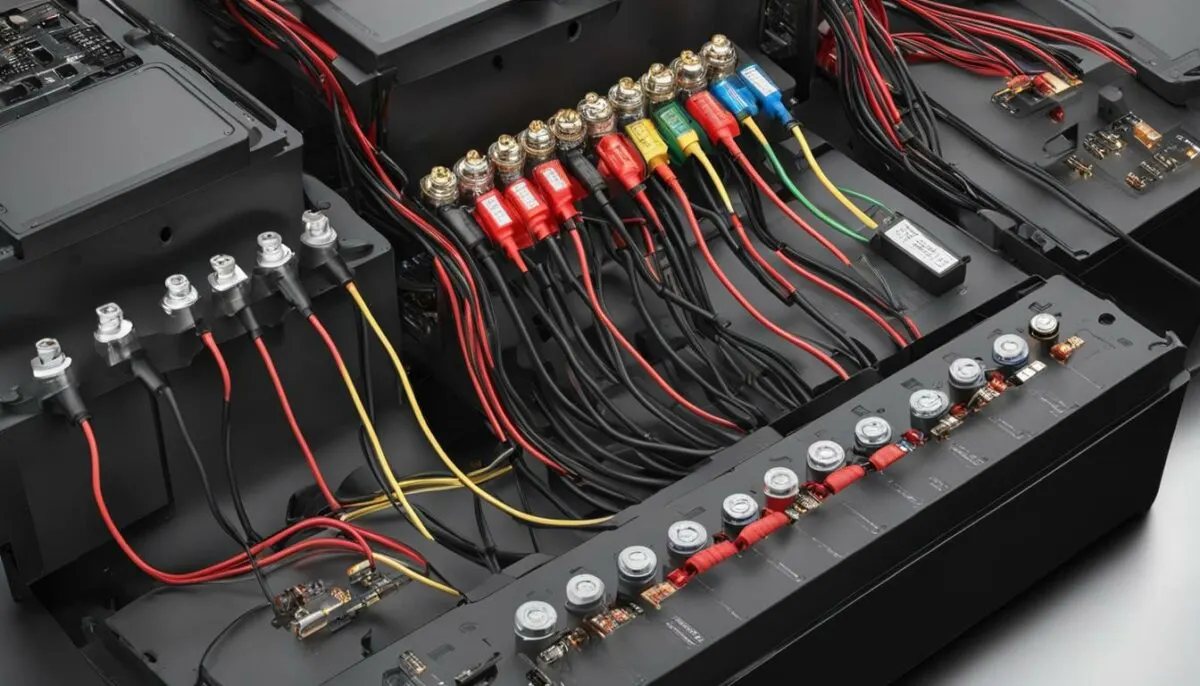
Visual aids can be incredibly helpful when it comes to understanding complicated wiring configurations. Here are a few battery wiring diagrams to help you with your car audio battery setup:
| Wiring Configuration | Diagram |
|---|---|
| Wiring Multiple Batteries in Parallel | |
| Wiring Multiple Batteries in Series |
|
As you can see, these diagrams can help you visualize how to wire multiple batteries for your car audio system. Make sure to follow the steps carefully and double-check your connections before powering up your system.
Ensuring Safe and Secure Connections
Properly securing and insulating your car audio battery connections is essential for optimal performance and, most importantly, safety. Failing to do so can lead to electrical mishaps, power surges, or even fires.
When you wire multiple batteries, it’s crucial to ensure that the connections are secure and that there are no loose wires or exposed conductors. Here are some tips to help you achieve a safe and efficient setup:
- Use high-quality cables and connectors that are rated for the amperage and voltage of your system.
- Make sure that the battery terminals are clean and free of any corrosion or rust. You can use a wire brush or sandpaper to clean them.
- Terminate each wire with an appropriate connector, such as a ring or spade terminal, and use heat shrink tubing to insulate the connections.
- Secure all wires and connectors with zip ties or clamps to prevent them from coming loose or touching each other.
- Install a fuse or circuit breaker in-line with each battery, close to the positive terminal. This will protect your system in case of a short circuit or power surge.
Remember, your car audio battery connections are only as strong as their weakest link. By following these steps, you can ensure a safe and reliable power supply for your audio setup.
Testing and Troubleshooting
After completing the wiring process, it’s crucial to test and troubleshoot your car audio battery setup. Testing ensures that the batteries are connected properly, and there are no issues with the connections. Additionally, testing helps identify any potential problems or errors that may affect the performance of your car audio system. Here are some steps to follow when testing and troubleshooting your battery setup:
- Use a voltmeter to check the voltage output between the batteries. A fully charged battery measures around 12.6 volts. If you notice a significant drop in voltage between batteries, there may be an issue with the wiring or connections.
- Turn on your car audio system and monitor the voltage. If you notice a drop in voltage, it may be an indication of insufficient power supply or a problem with the wiring or connections.
- Check the battery connections for any loose or corroded terminals. Loose connections can result in voltage drops and affect the overall performance of your car audio system.
- Inspect the battery isolator setup. Ensure that the isolator is functioning correctly and that the wiring is appropriately installed.
If you encounter any issues during the testing process, it’s important to troubleshoot the problems immediately. Here are some common issues and solutions:
| Issue | Solution |
|---|---|
| Voltage drops when the car is off | Check for parasitic draws or faulty wiring |
| Low battery voltage | Charge the batteries or replace them if they are damaged or inadequate for your car audio setup |
| System overload or electrical short | Check the wiring for any damage or misconnections. Ensure that the battery isolator is installed correctly. |
By following these testing and troubleshooting tips, you can ensure that your car audio battery setup runs smoothly and without any issues. Regular checks and maintenance can help avoid any potential problems and ensure optimal performance.
Maintaining Your Battery Setup
Congratulations! You have successfully completed wiring multiple batteries for your car audio system, but the work doesn’t stop there. It’s important to maintain your battery setup regularly to ensure optimal performance and longevity.
The following are some best practices for maintaining your car audio battery setup:
- Clean your batteries regularly to prevent dirt buildup and corrosion. Use a damp cloth or specialized battery cleaning solution to wipe clean the terminals and surrounding areas.
- Keep your batteries charged to avoid sulfation, a chemical reaction that can damage the battery plates and reduce its lifespan. Use a battery charger or alternator to keep your batteries charged, especially if you don’t use your car frequently.
- Monitor the voltage levels of your batteries regularly using a multimeter. By keeping track of the voltage levels, you can identify any potential issues early and take action before they become severe.
By following these maintenance tips, you can ensure your car audio battery setup remains in top condition, providing reliable power and optimal performance for years to come.
Example of a Battery Maintenance Log
Keeping a battery maintenance log can help you stay organized and ensure you’re performing all the necessary tasks at the appropriate intervals. Here’s an example of what a battery maintenance log could look like:
| Date | Task | Notes |
|---|---|---|
| 05/01/2021 | Cleaned battery terminals | Used a damp cloth to wipe away dirt and corrosion |
| 05/15/2021 | Checked voltage levels | Multimeter reading: 12.8V |
| 06/01/2021 | Charged batteries | Used battery charger to reach 100% charge |
Conclusion
There you have it, a comprehensive guide on wiring multiple batteries for car audio. By following the step-by-step process, you can achieve an upgraded audio system that offers improved performance, power output, and audio quality. Remember to select the appropriate batteries with sufficient capacity and brand reputation, consider the differences between series and parallel wiring, and always ensure secure and safe connections.
Additionally, implementing a battery isolator setup and performing regular maintenance can prolong the lifespan and performance of your battery setup. Don’t forget to test and troubleshoot your system to ensure optimal performance. With this knowledge, you can customize your car audio system and enjoy an immersive audio experience like never before.
Take Your Car Audio to the Next Level with Multiple Batteries
By wiring multiple batteries, you can amplify your ride and achieve an unparalleled audio experience. Whether you’re a professional car audio installer or a passionate DIY enthusiast, this guide provides the essential knowledge and techniques to enhance the power and performance of your audio setup. Don’t settle for mediocre audio quality; upgrade your car audio with multiple batteries and enjoy the ride.
FAQ
How can wiring multiple batteries improve my car audio system?
Wiring multiple batteries can enhance the power output of your car audio system, leading to improved audio quality and performance. It also ensures a reliable power supply, preventing any potential voltage drops or system failures.
What is the difference between series and parallel battery wiring?
Series battery wiring involves connecting batteries to increase the overall voltage output, while parallel battery wiring increases the system’s capacity. Series wiring is ideal for maximizing power, while parallel wiring is suitable for increasing battery life.
How do I choose the right batteries for my car audio system?
When selecting batteries, consider factors such as capacity, brand reputation, and compatibility with your vehicle’s electrical system. Opt for high-quality batteries that can handle the power demands of your audio setup.
What is a battery isolator and why is it important?
A battery isolator is a device that prevents one battery from draining the other. It ensures that each battery remains charged independently, allowing for seamless power distribution in your car audio system.
How do I wire multiple batteries in parallel?
To wire batteries in parallel, connect the positive terminals of all batteries together and do the same for the negative terminals. This configuration increases the capacity of your system while keeping the voltage consistent.
How do I wire multiple batteries in series?
To wire batteries in series, connect the positive terminal of one battery to the negative terminal of the next battery. This configuration increases the voltage output while keeping the capacity consistent across the batteries.
Can you provide battery wiring diagrams for different configurations?
Yes, we have detailed battery wiring diagrams available for various setups. These diagrams visually illustrate how to wire batteries in parallel, series, or combination configurations, making it easier for you to replicate the setup in your vehicle.
How can I ensure safe and secure battery connections?
To ensure safe connections, make sure to use proper gauge wiring, properly tighten all connections, and insulate exposed wires to prevent short circuits. It’s also essential to follow all safety guidelines and consult a professional if needed.
What should I do if I encounter issues with my battery setup?
If you experience any issues with your battery setup, such as voltage drops or improper connections, it’s important to test and troubleshoot the system. This can involve checking connections, measuring voltage, and identifying any potential problems for prompt resolution.
How should I maintain my battery setup?
To maintain your battery setup, regularly clean the batteries, monitor voltage levels, and ensure they are properly charged. Following best practices for battery maintenance will help prolong their lifespan and optimize performance.