If you’re having problems with the microphone on your AirPods, don’t worry! AirPods are trendy headphones and include a microphone. You can use them for FaceTime calls, Zoom conferences, or Siri commands. Apple’s AirPods are easy to carry, light, and comfortable. The battery life is also decent, and comes with a charging case.
But sometimes, you encounter multiple bugs, such as the microphone not working, audio dropping out, or AirPods disconnecting. This blog post will explain what to do if the microphone on your AirPods is not working.
Is the AirPods microphone not working? Seven tips to fix them!
Here are multiple tips that have worked well for other users. Let’s get started!
1. Unpair your AirPods and pair them again
This is the first step you should take if your AirPods microphone is not working. Sometimes, unpairing and then pairing them again can help fix the problem.
To unpair your AirPods, open up the Settings app and go to Bluetooth. Tap on the “i” symbol next to your AirPods and select “Forget Device.” Then, turn off Bluetooth on your device and turn it back on.
Finally, put your AirPods back in the charging case and wait for them to power up. Give them 30 seconds, then pull them out and pair them again. This process is similar to “restarting” a computer or phone but for your AirPods. In most cases, this procedure solves the problem.

If this doesn’t work, continue to the next step.
2. Clean your AirPods microphone
If the first step doesn’t work, you can try to clean your AirPods microphone. This may help if any dirt or debris is blocking the microphone.
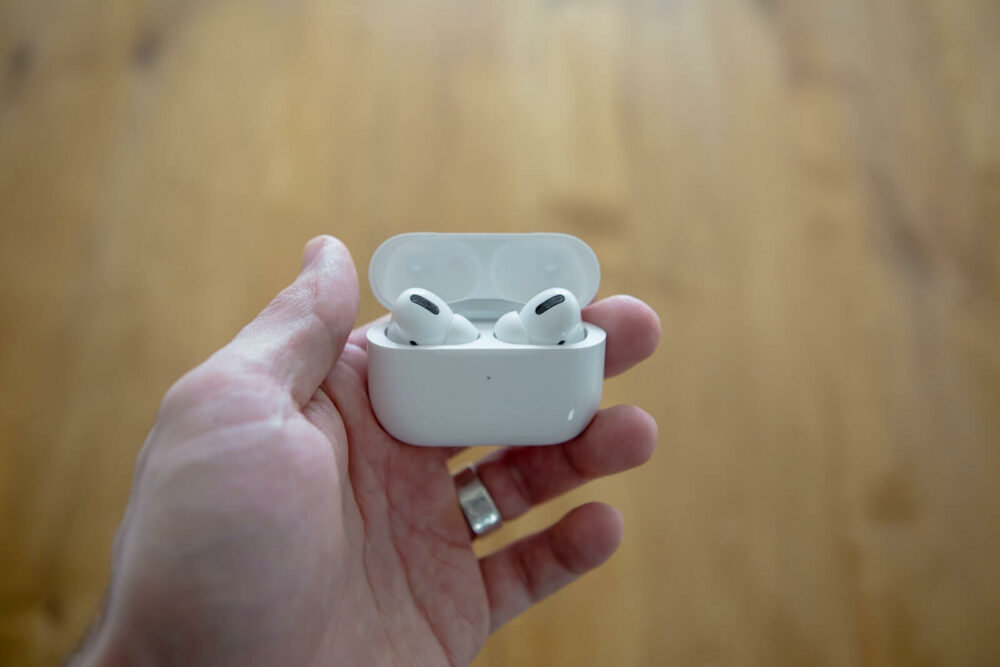
To clean your AirPods, use a dry cotton swab or cloth. Gently wipe around the microphone opening on the stem of each AirPod. Be careful not to get any liquid inside the device and avoid touching any internal components.
Each AirPod has 2 microphones, one external mic at the end of the stem, and 1 internal mic. You can’t clean the internal mic. If the external mic is dirty, this may solve your microphone problem.
If cleaning your microphones doesn’t work, continue to the next tip.
3. Restart your paired device
Our first suggestion was to “restart” your AirPods by unpairing and pairing them again. But what if the AirPods were not the problem, and instead, it was the device you were pairing them with?
Whether you’re using an iPhone, a MacBook, iPad, or any other device, sometimes restarting it can fix the problem. You should try This simple step before moving on to any other suggestions.
4. Make sure your AirPods have enough battery
If your AirPods microphone is not working, one possible reason is the low battery. When the battery on your AirPods gets too low, they may experience problems such as the microphone cutting out or audio dropping out.
Sometimes the left AirPod dies first. The microphone stops working a few minutes before the AirPods completely shut down. I have experienced this behavior a few times.
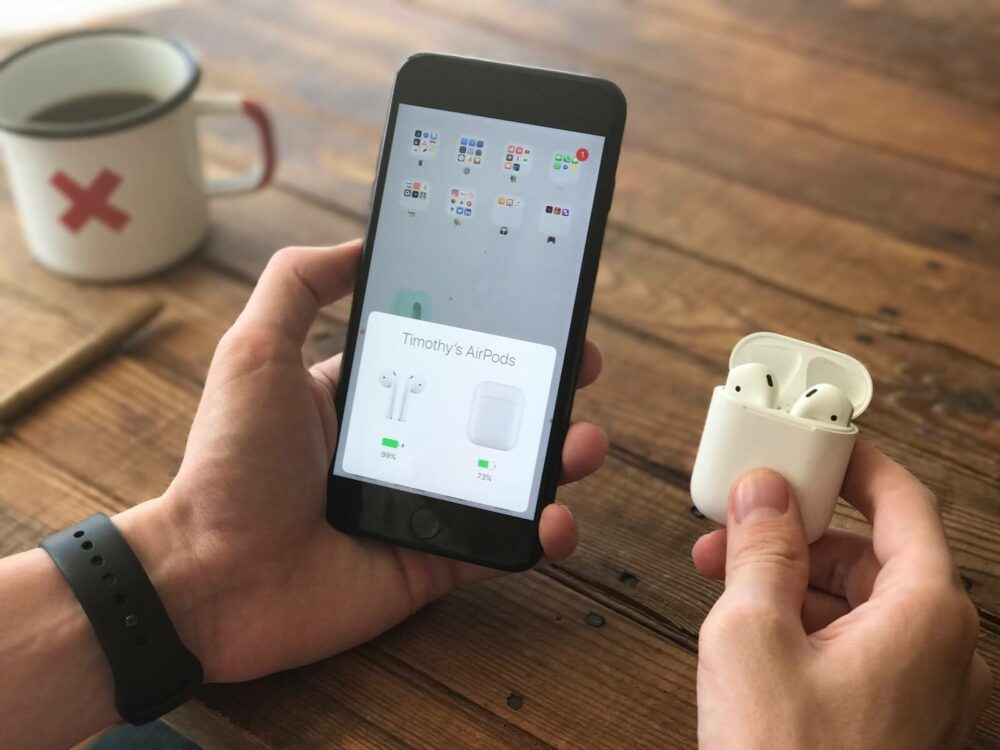

You can always check your AirPods battery levels in the Settings app on your paired device. If the battery is under 5%, charge them for a few minutes (AirPods charge pretty fast) and try them again. If the microphone works now, your problem was the low battery.
If this tip doesn’t work, move to the next one.
5. Check the microphone settings on your AirPods
Most people don’t know you can enable or change the microphone location on your AirPods. By default, the mic is enabled automatically on both AirPods, but maybe an app or somebody accidentally changed your settings.
Open the Settings app on your paired device and go to Bluetooth to access the microphone settings. Tap on the “i” symbol next to your AirPods and select “Microphone.”
You can select whether to switch AirPods automatically or use one AirPod as a fixed microphone. Now that you’re inside this menu, you can also change the actions on double-tap, change your AirPods profile name or disable “automatic ear detection.“
Pretty cool, huh? Check out the next tip if you’re still having issues.
6. Update to the latest firmware and iOS version
If you’re having constant microphone problems with your AirPods, checking for updates is probably a good idea. Ensure you have the latest firmware and iOS versions installed on your devices.
Go to Settings > General > Software Update on your iPhone or iPad to do this. You can also open the App Store and tap on Updates in the top right corner of the screen.
If there are any available updates, install them and try using your AirPods again. If they still don’t work, continue down this list. Updating your AirPods firmware isn’t as straightforward as updating your iPhone because there’s no way to force it, and it happens as long as they’re synced to your iPhone now and then.
To check your firmware’s version, go to Settings > General > About on your iDevice and select your AirPods. There, you will be able to see your firmware version, and you need to check online whether that’s the latest firmware available.
If everything else fails, it’s time to take more drastic measures.
7. Repair your AirPods or get a replacement
Finally, if nothing else has worked, it’s time to take your AirPods in for repair or get a replacement. Apple offers a one-year warranty on all its products, and AirPods are no exception.
You can visit an Apple Store or an Authorized Service Provider or contact Apple Support. They can help you with the process and repair your AirPods or give you a brand-new set.

Remember to keep your AirPods inside the charging case when you’re not using them to protect them and don’t forget that Airpods aren’t water-proof. Please don’t bring them with you to the pool or the beach. Don’t shower with them.
How can I test my microphone to ensure it is connecting properly to my device?
To test your microphone and ensure that it is properly connecting to your device, you can follow these steps:
1. Open the app or settings on your device: Start by locating the app or settings where you usually use your microphone or adjust audio settings. This could be a video conferencing app, a voice recording app, or the general audio settings of your device.
2. Access microphone settings: Once you are in the appropriate app or settings, look for the microphone settings. This can typically be found in the audio or input section.
3. Check microphone permissions: Ensure that the app or device has the necessary permissions to access your microphone. If the permission is not granted, you may need to enable it.
4. Select the microphone: If you have multiple microphones connected to your device, such as built-in microphones or external ones, choose the correct one. Most apps and devices allow you to select your preferred microphone.
5. Test the microphone input: Look for an option to test or check the microphone input. It could be labeled as “test microphone” or “microphone check.” Select this option to initiate the test.
6. Speak into the microphone: Once the microphone test is running, speak into the microphone clearly and at a normal volume. You should see some visual indication that your device is picking up the sound from the microphone.
7. Verify audio output: If the app or settings provide an option to play back the recorded audio, listen to it to ensure the microphone is capturing your voice accurately. Pay attention to the clarity and volume of the recorded sound.
8. Adjust settings if necessary: If you encounter any issues during the test, check the app’s or device’s audio settings. Look for options like input volume, microphone gain, or noise cancellation, and adjust them as needed to optimize the microphone performance.
By following these steps, you can effectively test your microphone and ensure that it is connecting properly to your device.
The bottom line
There are seven tips to try if your AirPods microphone isn’t working. Hopefully, one of these tips will help you get your microphone up and running again. If not, it might be time to take them in for repair or get a replacement set from Apple.
Don’t hesitate to ask for more assistance or comment if you have any other suggestions. Thanks for reading!