AirPods have become a sensation since their release in 2016, revolutionizing the way we listen to music and interact with our devices. With their sleek design and seamless integration with Apple products, these wireless earbuds have dominated the market and become a must-have accessory for Apple enthusiasts. But did you know that AirPods can also be connected to a Windows PC?
In this easy guide, we will walk you through the step-by-step process of connecting your AirPods to a Windows 10 computer. Whether you’re eager to enjoy wireless audio while working, watching movies, or listening to music, we’ve got you covered.
Key Takeaways:
- AirPods have sold over 100 million units globally, making them one of the most popular wireless earbuds in the market.
- Contrary to popular belief, AirPods can be connected to a Windows PC, allowing users to enjoy wireless audio without limitations.
- In this easy guide, we will provide you with step-by-step instructions on how to connect your AirPods to a Windows 10 computer.
- If you encounter any issues during the pairing process, we’ve also included troubleshooting tips to help you resolve any connectivity problems.
- By following our guide and troubleshooting suggestions, you can enhance your audio experience and make the most out of your AirPods with your Windows PC.
Step 1: Put AirPods in the Charging Case
To prepare your AirPods for connection, follow these steps:
- Open the AirPods charging case.
- Place your AirPods inside the case.
- Ensure that the case is fully charged.
Putting your AirPods in the charging case not only keeps them protected but also activates the pairing mode. This mode allows your AirPods to be discoverable and ready for connection with other devices, such as your Windows PC.
Now that your AirPods are in the charging case and prepared for connection, you’re ready to move on to the next step and start pairing them with your Windows PC.
Step 2: Open Windows Settings
To connect your AirPods to your Windows 10 computer, you’ll need to access the Windows Settings. Follow the simple steps below:
- Click on the Start menu located at the bottom left corner of your screen.
- Select the Settings option from the menu. This will open the Windows Settings page.
The Windows Settings page is where you can manage various device settings, including Bluetooth connections.
Now that you have opened the Windows Settings, we can move on to the next step to connect your AirPods to your PC.
Step 3: Go to Bluetooth & Other Devices

In order to connect your AirPods to your Windows 10 computer, you need to navigate to the Bluetooth & Other Devices settings. Here’s how you can do it:
- Open the Windows Settings page by clicking on the Start menu and selecting Settings.
- Click on the “Devices” option.
- Select “Bluetooth & other devices” from the left sidebar menu.
This is where you can manage all your Bluetooth connections and add new devices to your Windows computer. By following these steps, you’ll be one step closer to connecting your AirPods to your PC.
Step 4: Add Bluetooth Device
To connect your AirPods to your PC, you need to add them as a Bluetooth device. Follow these simple steps to add a Bluetooth device:
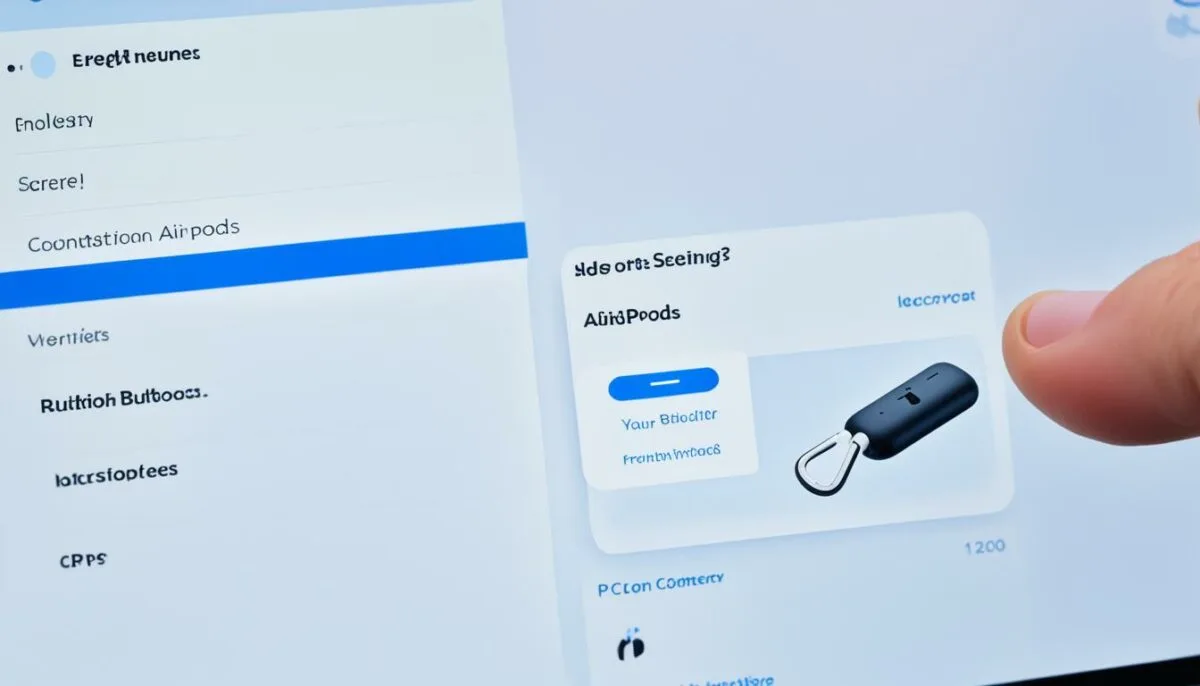
- Click on the “Add Bluetooth or other devices” button to start the process.
- From the options provided, select “Bluetooth” as the type of device you want to add.
By adding your AirPods as a Bluetooth device, you enable your PC to establish a wireless connection with them, allowing you to enjoy the convenience of wire-free audio.
| Benefits of Adding Bluetooth Device | How to Add Bluetooth Device |
|---|---|
| Add wireless audio functionality to your PC | 1. Click on the “Add Bluetooth or other devices” button. |
| Conveniently listen to music and make calls | 2. Select “Bluetooth” as the type of device to add. |
| Enhance your overall PC experience |
Once you have successfully added your AirPods as a Bluetooth device, you can proceed to the next step to pair them with your PC. This will allow you to seamlessly connect and enjoy your AirPods with your Windows computer.
Step 5: Pair AirPods with PC

Your Windows computer will now search for available Bluetooth devices. Make sure your AirPods are still in the charging case and press and hold the setup button on the back of the case until the LED light starts flashing. Your AirPods will appear in the list of available devices, and you can select them to begin the pairing process.
Note: Ensure that your AirPods are charged and in pairing mode. To enter pairing mode, press and hold the setup button on the back of the charging case until the LED light flashes.
Once you have located your AirPods in the list of available devices on your Windows computer, select them to initiate the pairing process. Your computer will attempt to connect to your AirPods.
Connecting your AirPods to Windows 10 may take a few moments. Please be patient while the pairing process completes.
After successfully pairing your AirPods with your PC, you can enjoy wireless audio from your AirPods while using your computer. The next section will cover the final steps to complete the pairing process and start using your AirPods with your Windows computer.
Step 6: Complete the Pairing Process

Once you have selected your AirPods from the list, your computer will pair with them. You may see a notification confirming that your device is ready to go. At this point, you can take your AirPods out of the charging case and start using them with your Windows computer.
Here’s a step-by-step guide to completing the pairing process:
- Select your AirPods from the list of available devices and click on them to initiate the pairing.
- Wait for your computer to establish a connection with your AirPods.
- Once the pairing is complete, you will see a notification indicating that your AirPods are ready to use.
- You can now take your AirPods out of the charging case and enjoy wireless audio on your Windows computer.
Pairing your AirPods with your computer allows you to listen to music, watch videos, and make calls without the hassle of wires. The seamless connectivity between your AirPods and your Windows PC ensures a smooth and high-quality audio experience.
If you encounter any issues during the pairing process, try restarting your computer and AirPods, ensuring that Bluetooth is enabled on your computer, and following the troubleshooting steps outlined in Section 8.
Now that you have successfully paired your AirPods with your Windows computer, you can enjoy the freedom and convenience of wireless audio anytime, anywhere.
| Benefits of Connecting AirPods to a Windows PC |
|---|
| 1. Wireless audio: Enjoy the freedom of wireless audio without the need for tangled cords. |
| 2. Seamless integration: AirPods seamlessly connect and integrate with your Windows computer for a hassle-free audio experience. |
| 3. High-quality sound: Experience crystal-clear, high-quality sound when using your AirPods with your PC. |
| 4. Convenient controls: Easily control your audio playback, adjust volume, and manage calls directly from your AirPods. |
| 5. Portable and lightweight: AirPods are compact, lightweight, and easy to carry, making them ideal for on-the-go use with your Windows computer. |
Troubleshooting AirPods PC Connection

If you encounter any issues during the pairing process or if your AirPods are not connecting to your PC, try the following troubleshooting steps:
- Make sure Bluetooth is enabled on your computer and AirPods are in pairing mode.
- Check for any Bluetooth driver updates for your Windows PC.
- Restart both your computer and AirPods.
- Reset your AirPods to factory settings and repeat the pairing process.
If these steps do not resolve the issue, there may be a more complex problem with your AirPods or your PC’s Bluetooth settings. In such cases, it is recommended to reach out to Apple Support or consult a technical professional.
Remember, troubleshooting will help you fix AirPods PC pairing issues and troubleshoot AirPods connection problems, ensuring you can seamlessly connect and enjoy your AirPods with your Windows computer.
Common AirPods PC Connection Problems
| Problem | Possible Solution |
|---|---|
| AirPods not showing up in Bluetooth devices | Make sure AirPods are in pairing mode and try restarting your computer. |
| AirPods connected but no sound | Ensure the audio output is set to AirPods and check the volume settings. |
| AirPods disconnecting frequently | Try resetting your network settings and update your Bluetooth drivers. |
| Poor audio quality or stuttering playback | Remove obstacles between your AirPods and PC, and keep them close for a stronger connection. |
Conclusion
Connecting your AirPods to your Windows PC is a breeze, and this easy guide has shown you how to do it step by step. By following these instructions, you can enjoy seamless wireless audio while using your computer.
First, make sure to put your AirPods in the charging case and ensure that they are ready for pairing. Then, open the Windows Settings on your PC and navigate to the Bluetooth & other devices option. From there, add your AirPods as a Bluetooth device and pair them with your PC.
If you encounter any issues during the pairing process, don’t worry. Troubleshooting steps such as enabling Bluetooth on your computer, checking for driver updates, and restarting both your PC and AirPods can help resolve any problems.
Now that you know how to connect your AirPods to your Windows PC, you can enjoy the convenience of wireless audio while working, studying, or simply listening to your favorite music. Say goodbye to tangled wires and immerse yourself in a clutter-free audio experience with your AirPods and PC.